I really like playing Space Wolves. I love the models, the lore is fun, and aggressive board control melee has always spoken to me. I have dipped my toes into playing my Wolves models as other chapters or other playstyles a time or two in the past to make my team happy, but honestly that really bums me out. When I play with my dudes, I want to actually play with my dudes. This has been an edition of some low lows, some really high highs, and a lot of sorta mid to upper middles, but fortunately there have been few times where Wolves were just totally in the dumpster. For the start of my series breaking down various Space Wolves units and tactics, I am going to do a bit of a dive on what I’m playing now, why I like it, and offer some (maybe dubious) advice on how to get some legs out of your Space Wolves in a fairly hostile meta.
My Current Goals
Currently, my real life schedule isn’t allowing me to play very many events. This is fine for now, because with the end of the edition on the horizon, the goal right now is to keep sharp, have some fun, and play when I can. So, with that in mind, I think it is important to set expectations and goals for myself when I do play. Those look, in order, something like this:- Play Space Wolves in a way that is fun;
- Help my team prep for several upcoming events I can’t make;
- Play tournaments when I can; and,
- If possible, maintain a winning record in the current meta.
The List
I have about 30 games with this list, and have been pretty successful, with only a few losses and a few ties. The list has been virtually the same, but I do go back and forth on the Wulfen having the Death Totems or the Stormfrag launchers.
This is almost entirely melee with only a few shooting elements, but is a very flexible list. You can go full send aggro, you can play cagey and reactive. You can start on or off the board, or even null deploy (almost categorically, don’t do this). The fact that the list is mostly melee is very fun and pretty fluffy, but can also be a weakness, and one of the true weaknesses of this army if you are pretty darn elite, so you have to be careful with how you use your chaff. That said, let’s dive into the units.
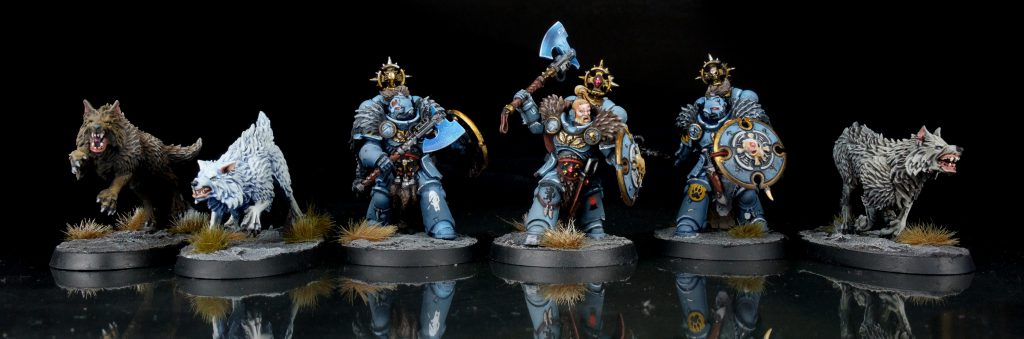
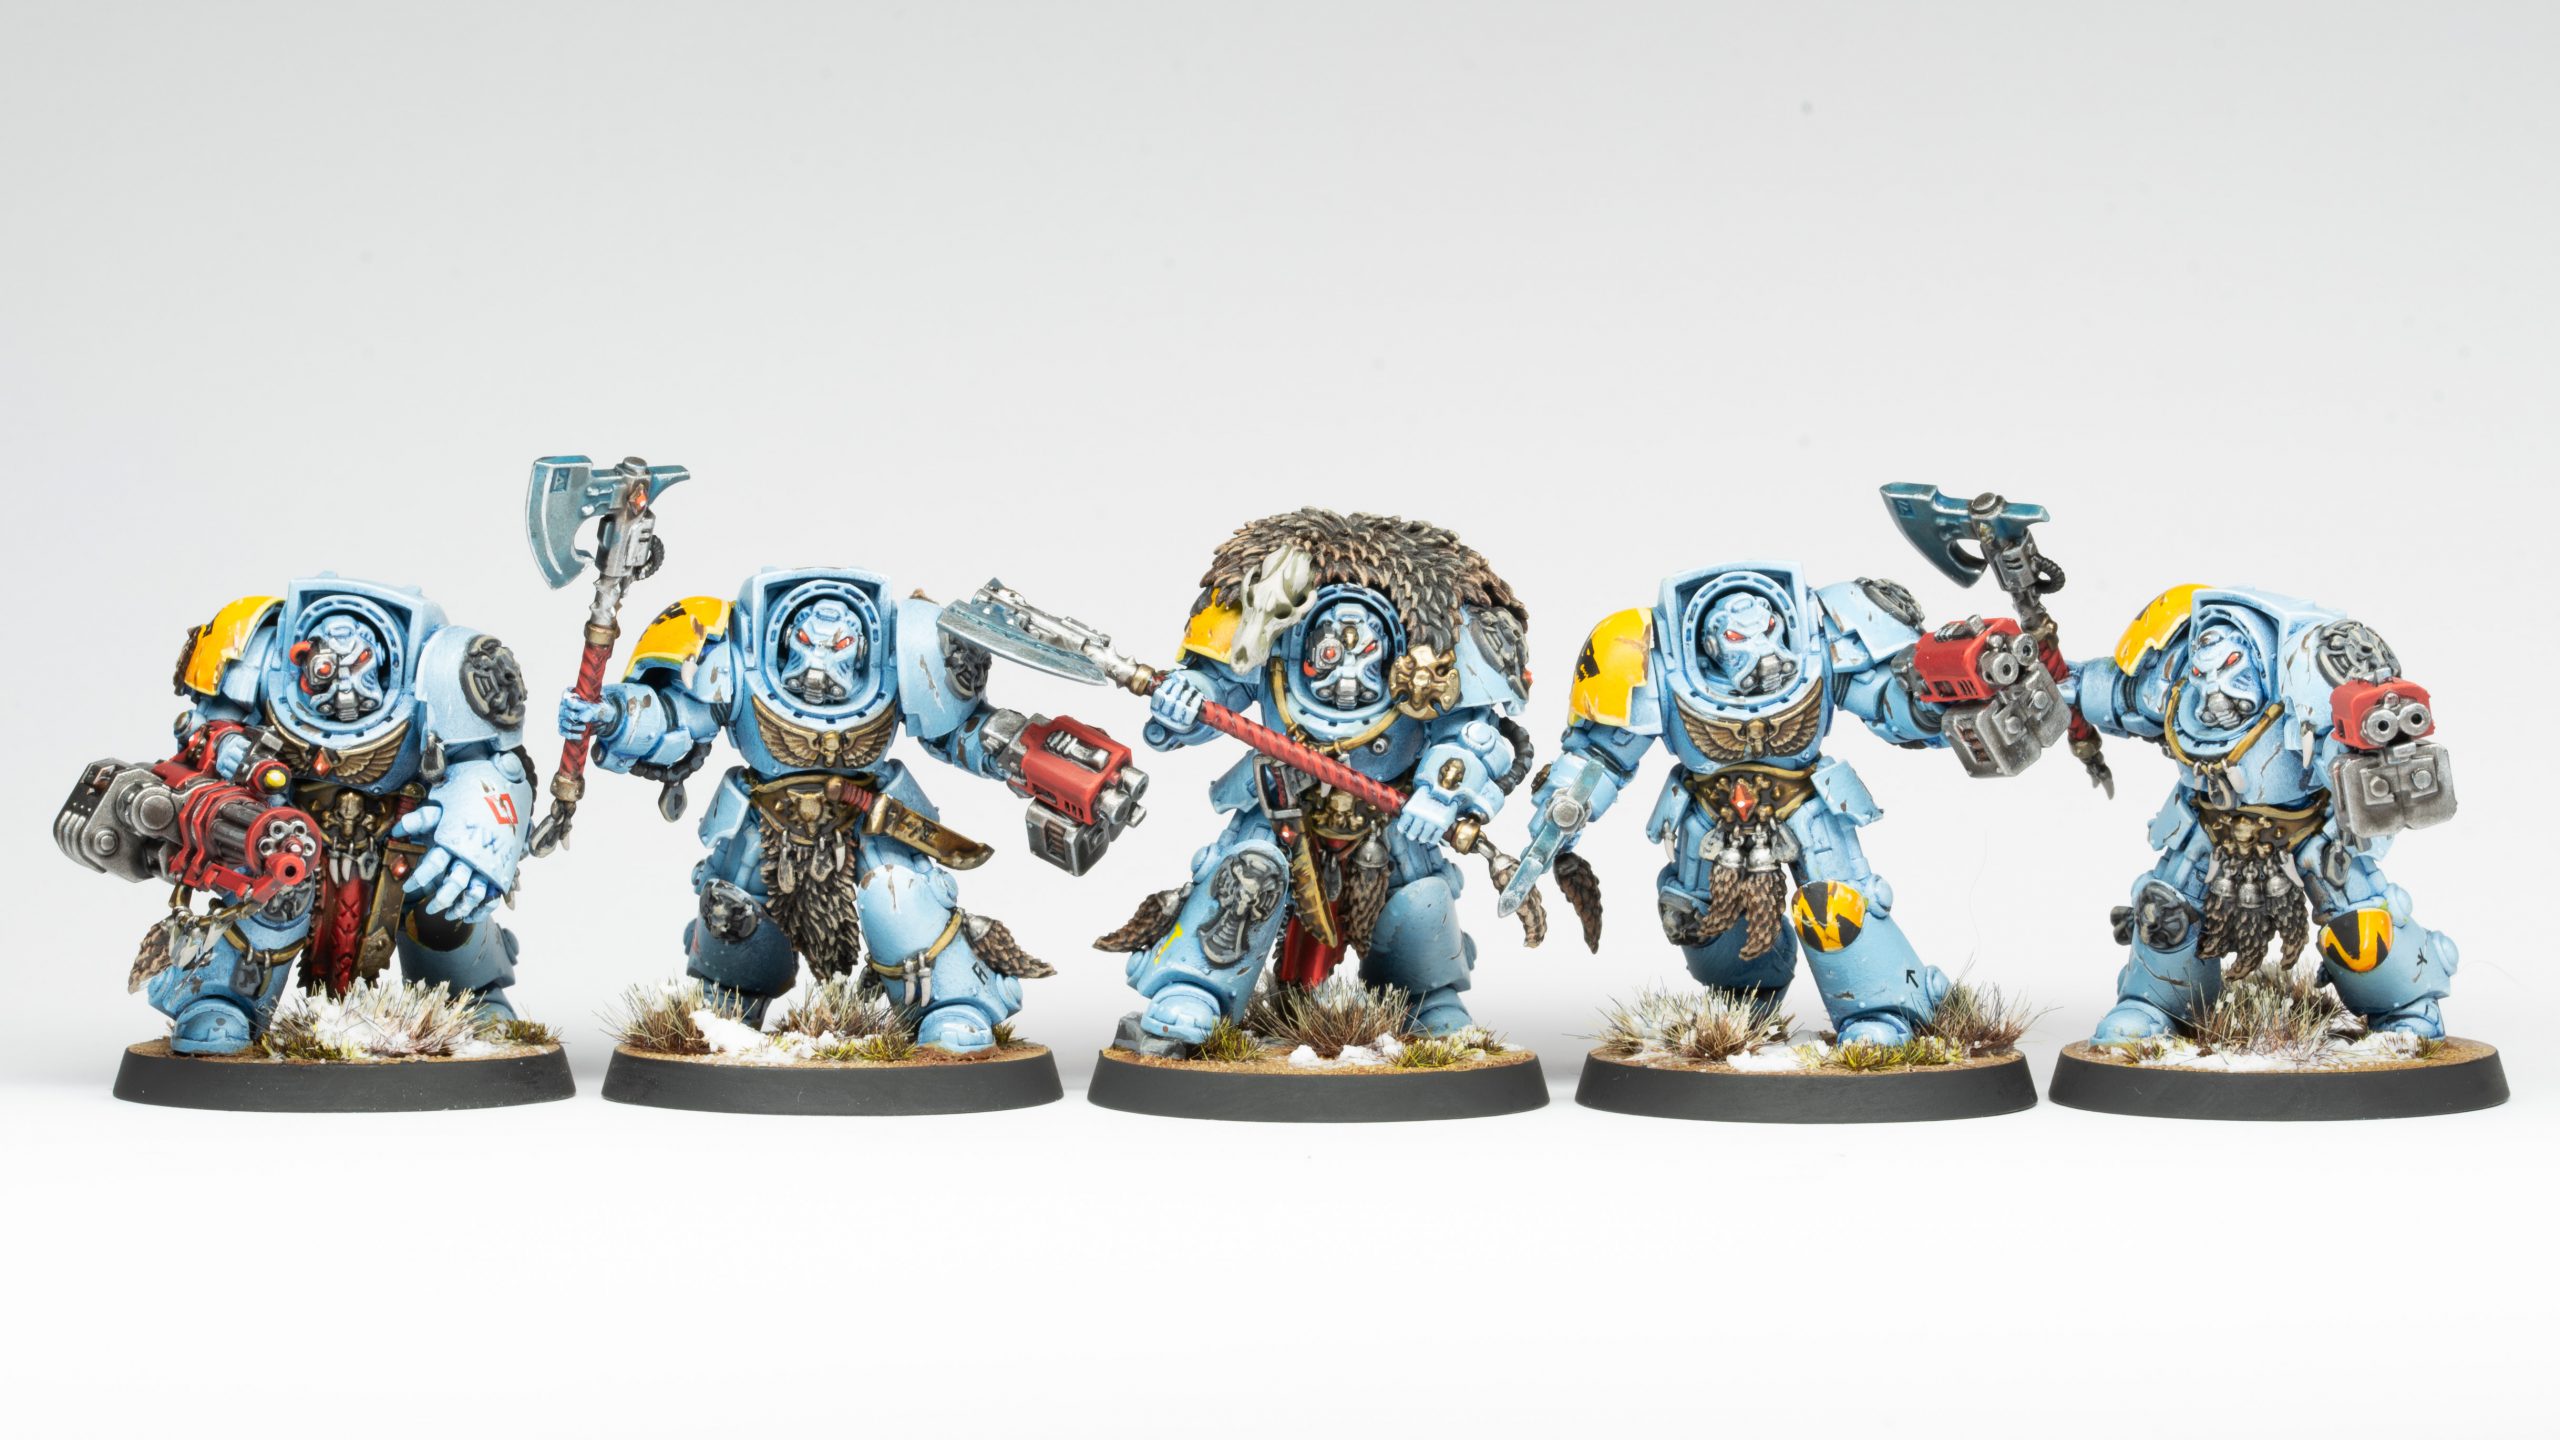 Space Wolves Wolf Guard Terminators. Credit: Rich Nutter
Wolf Guard Terminators
So, to start, this is the meat of the list. Basically since the Space Wolves codex dropped, Wolf Guard Terminators have been a mainstay of Space Wolves lists. They are tough as nails, have decent melee, and have wound counts that can really throw some profiles. Here is the dirty secret about these dudes - they really aren’t that good of a datasheet, but at the price point they are at, they are a very good unit. Saga of the Great Wolf gives them a few more toys to make the even better, and so of course I shoved as many as had a character to caddy in to the list. The three units are;- Logan’s unit - Lightning claws to compliment Logan’s sweep profile, and all shields on the rest for durability.
- Arjac’s unit - The Relic greataxe to boost up damage 3 in the unit, which goes well with Arjac’s “murder everything” potential, and then all the rest with shields to maximize durability.
- Captain’s unit - One Relic greataxe, one Assault cannon and Power fist, and the rest shields. Because the Captain in Terminator Armor is lower damage than Logan or Arjac, I added as much extra melee punch as I could. This is also nice because the Assault cannon compliment’s the Captain’s Combi-weapon, doing a smattering of dev wounds too.
That being said, each unit has a slightly different use based on the character they have riding shotgun. Logan’s unit should be in the mix, but as safe as possible to keep the Vect aura projected off of Logan’s fat base. Arjac, with his anti-vehicle/monster and rerolls into characters, is usually your highest damage group, which means that he is your hammer. What this usually means is that he is an ambush predator, and he hangs in Deep Strike until an opportune Rapid Ingress. However, it’s worth remembering his fight on death ability can help this unit trade. Finally, you have the Captain with Grimnar’s Mark unit, which is your most throwaway unit. The combination of a free Rapid Ingress or Heroic Intervention with the baseline free stratagem can be very versatile, and can set up some good disruption plays. Importantly, this unit give you access to the double Rapid Ingress, which can be absolutely back breaking. The Captain also gives re-roll Charges to the unit, which can help give you freedom to be in a different Saga. This is your most flexible unit, and each game is going to play out differently.
 Credit: Robert "TheChirurgeon" Jones
Wulfen with Storm Shields
Wulfen with Storm Shields are one of the units in this army that I keep wanting to shift around, but keep coming back to. They are fill two roles;- Hitting hard units with a bunch of 3 damage, especially when you leverage their Anti-Vehicle/Monster; and,
- Being a fast distraction carnifex.
In terms of wargear, I think on math the frag launchers are the way to go, they will help clear chaff and with +1 to hit and wound access, they can actually do some real damage. That being said, Death Totems reroll 1s to hit helps them not need Oath of Moment to punch well. I think this one is a comfort and meta call.
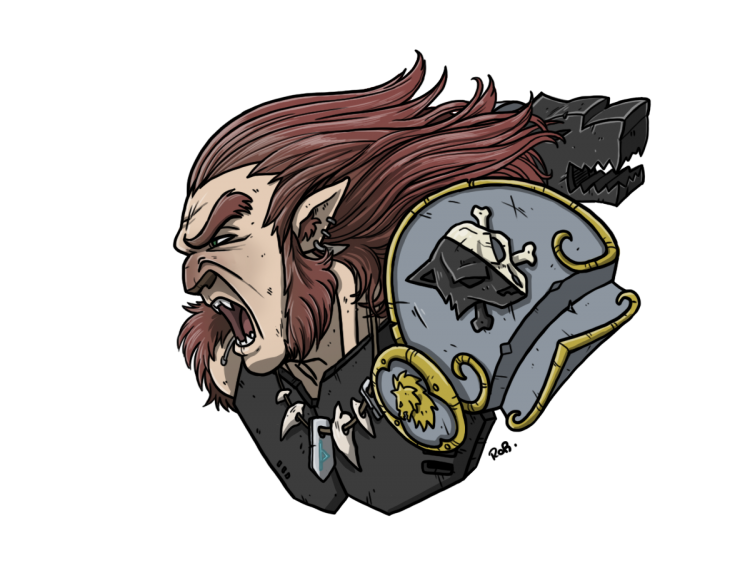
 Wolf Guard Headtakers - Credit: keewa
Wolf Guard Headtakers
These guys wreck face, and that is really it. There are two squads available, and while both have paired weapons, they have different roles:- A three man squad led by Ragnar Blackmane. This is a skirmish unit, can advance and charge, and throws out 28 attacks plus Ragnar’s Sustained Hits, even outside of a saga. They can push through damage on harder targets if they need to lend a hand, but they will absolutely blend MSU objective holders or bigger squads of MEQ. Just don’t throw them into too hard a target, and they will be fine.
- A six man squad is led by the Wolf Guard Battle-Leader with Skjald’s Foretelling. These guys are a haymaker, they will kill the sun. At the start of every game I explain that, when fully buffed, this is a unit that has Lance, Lethal, Sustained, Precision, Dev with re-roll 1s to hit (or Oath) on 36 attacks, and the same but without Precision and Dev on 7 more. These are your most deadly unit, but are also pretty fragile, so this unit needs to count when you use it- it needs to kill one or more hard targets, and then needs to take heat off of your other units for a turn.
These guys should bob in and out of the Repulsor, lurk in ruins, and pounce when they can do the most damage. In the meantime, they can project OC out to Wulfen and Fenrisian Wolves. Play them careful until it’s time to throw them out, and watch them blend.
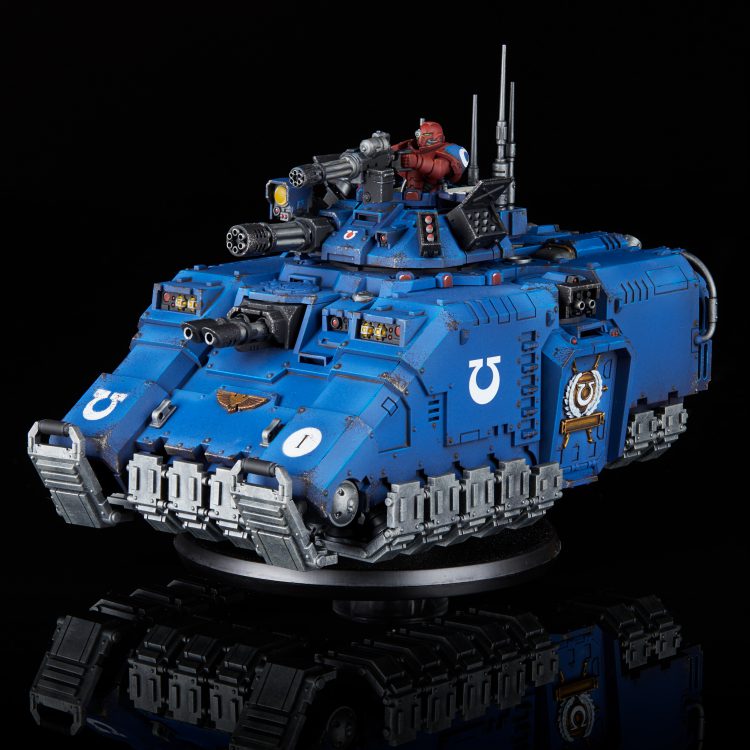 Ultramarines Repulsor. Credit: Jack Hunter
Repulsor
This is another weird one, I constantly look to replace this with something else but I just can’t justify it. This thing is cheap, tough, and can help crack some transports if you need it with +1 to Hit/Wound access. Most importantly, this thing gives you access to movement shenanigans and lets you tuck dudes safely inside. Headtakers and Wolf Scouts can move and charge out, multiple squads can hide inside, and every Terminator squad can fit inside on its own. This gives you option to use the Repulsor datasheet rule to get back in if you’re charged. Additionally, Great Wolf has a stratagem allowing you to move, and therefore get back inside, if a unit is shot. This creates a very useful tool for units - if you shoot me, I get back inside. If you charge me, I get back inside. If you leave me alone, you have Terminators or Headtakers running amok. Finally, at T12, this unit, once again, really stresses the profiles that are needed into Wulfen and Terminators, which means it can effectively hold points while opponents don’t have the bandwidth to deal with a tough, high wound count, and not that threatening piece. All of this for the cheap price of 180 points.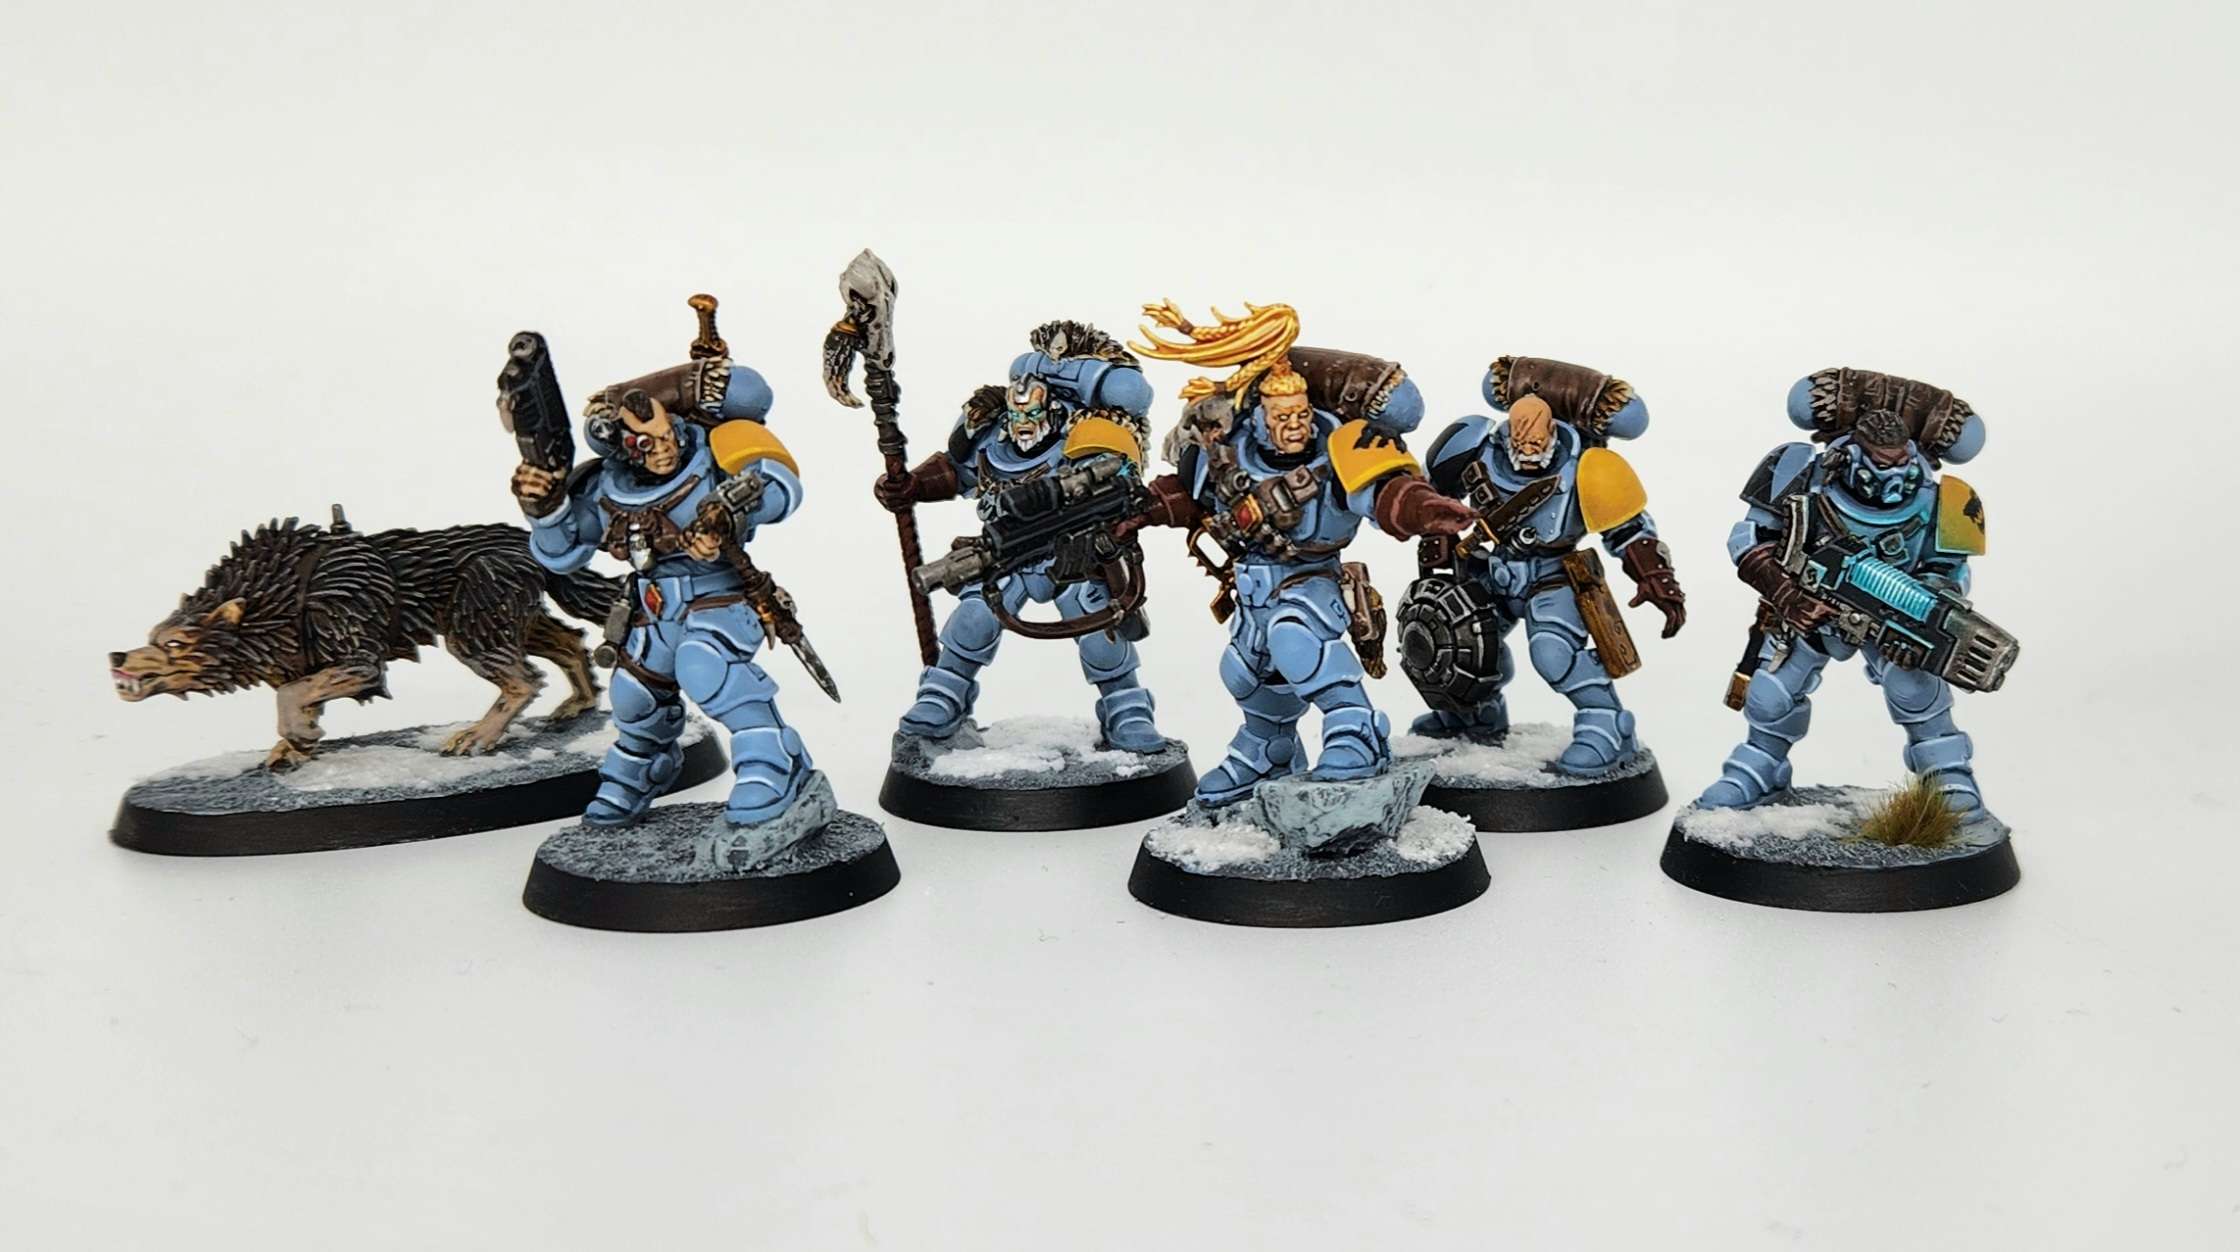 Credit: Robert "TheChirurgeon" Jones
Wolf Scouts
I have talked about these guys in a whole article of the Infiltration 101 Series, but they are a key piece that brings this list together. These guys are an early game tempo piece, and can flex aggressive or fade back to a screening and holding piece for later. The ability to Scout move forward into a super aggressive position or to go back and hide in the Repulsor is huge, and their trade ability is bananas. In my last few games, these guys have;- Solo’d an Armiger;
- Killed 2 Wulfen squads and a scout squad, while throwing mortal wounds on Bjorn;
- Killed 19/20 guardsmen, a squad of Death Riders, and a Krieg Engineer Squad;
- Killed a rhino full of sisters and about half of the contents.
The Rest of the List
Now to fill out the rest- We have the staples of Space Marines. A single squad of Intercessors is there for sticky objectives, and the Lt. with Combi-Weapon does his usual game plan of standing on points, screening, scampering around, and occasionally throwing a grenade. In this list, he also loves to scamper into the Repulsor with a reactive move. He is also holding the Chariots of the Storm enhancement, which is a great tool for this list. Finally, we have Fenrisian Wolves, who, basically, are cheap. They get in the way, can score some points, screen, and have a nice little annoying reactive move to hide or scoot around. Five 40mm bases are also great for screening, and they can hit surprisingly hard into 1 wound trash. It is important to note that the Combi-weapon Lt. and the Captain in Terminator Armor do not provide OC to the Wolves, or Wulfen, so plan accordingly.How to Play
So, I will start off with the fact that this is a somewhat complicated list to play. I am a sicko and I really enjoy complicated lists that flex into various decisions, both for you and your opponent, that make the game difficult. I think this is a fun way to play, but the downside is that this means you can choose wrong, and shoot yourself in the foot. This list has been a blast for me because you can go super aggressive, or more reactive and passive. Because of how many decision trees this list creates, I have “macros” of things I do the same way every game if I can, starting with these.- The Intercessors are on your home point, Fenrisian Wolves are a hair within 13” of the middle and hiding so they can score some early secondary draws, Combi-weapon LT is hiding near my natural expansion so he can run on and action if needed, and Arjac and the Captain are in Deep Strike with their units;
- Logan starts on the board, but with a plan that he very likely redeploys into reserves;
- The Wolf Scouts screen a huge chunk of No Man’s Land, and I know they are using one of my redeploys;
- Ragnar and his Headtakers are hiding somewhere where they can skirmish on either my natural or the middle, and can project OC to Wolves and Wulfen as needed, but can still reach the Repulsor to load up;
- The Repulsor, full of Headtakers, are in a position to reach the center on 1 or stage to reach the opponent’s expansion on 2, and the Wulfen are hiding where they can threaten middle or opponent’s expansion; finally,
- Redeploys happen as needed, with the main one being Wolf Scouts positioning to attack or hide on their Scout Move.
As you play this list, you will get a feel for the ebb and flow of the game plan, because it will be slightly different every time. I try to keep a list of “rules” about how the game should go, something like this;
- Always trade up - your units are expensive, but nothing in the army is more than 280, so they are that expensive. You can afford to trade, especially if you can get a 2 for 1 rate, but don’t be cavalier- make sure you are getting a benefit of assets or positioning.
- Control space - if the opponent gives space, take it. Your terminators want to be able to drop where they can do the most damage, so if your opponent runs backwards, keep pushing them. This means your backfield can get thin, so it is important to keep your own assets alive to hold your own space together.
- Be patient - the games I have lost or tied with this list are usually because I got impatient. The looming threat of Terminators in Deep Strike is a powerful tool, and patience is important. Make your opponent position around the “maybe they will show up” fear as long as you can, and pounce when the time is right. This goes for the 6 man Headtakers, too - many games they do nothing but menace a haymaker and threaten space, then play cleanup. Remember, nothing is more than 280 points, you can afford to wait it out.
- Keep Arjac in the wings and Logan alive- the longer the threat of Arjac waits, the better it is. Logan is brutal on enemy CP economy, and every turn he is alive and in the mix is a turn where your opponent can’t afford to do more.
- Pick the right time to stat check - There will come a time, in every game, where the right answer is stat overload. It will take time to learn, but you will see it, and pounce when you do. It is very hard to deal with 3x Terminators, Wulfen, and a Repulsor all at once - most armies just don't have the gas, especially because the Terminators will be showing up from Deep Strike in a strategically “bad your opponent” way. Leverage this stat turn, because if your opponent under commits, mispositions, or whiffs, the game tips HARD.
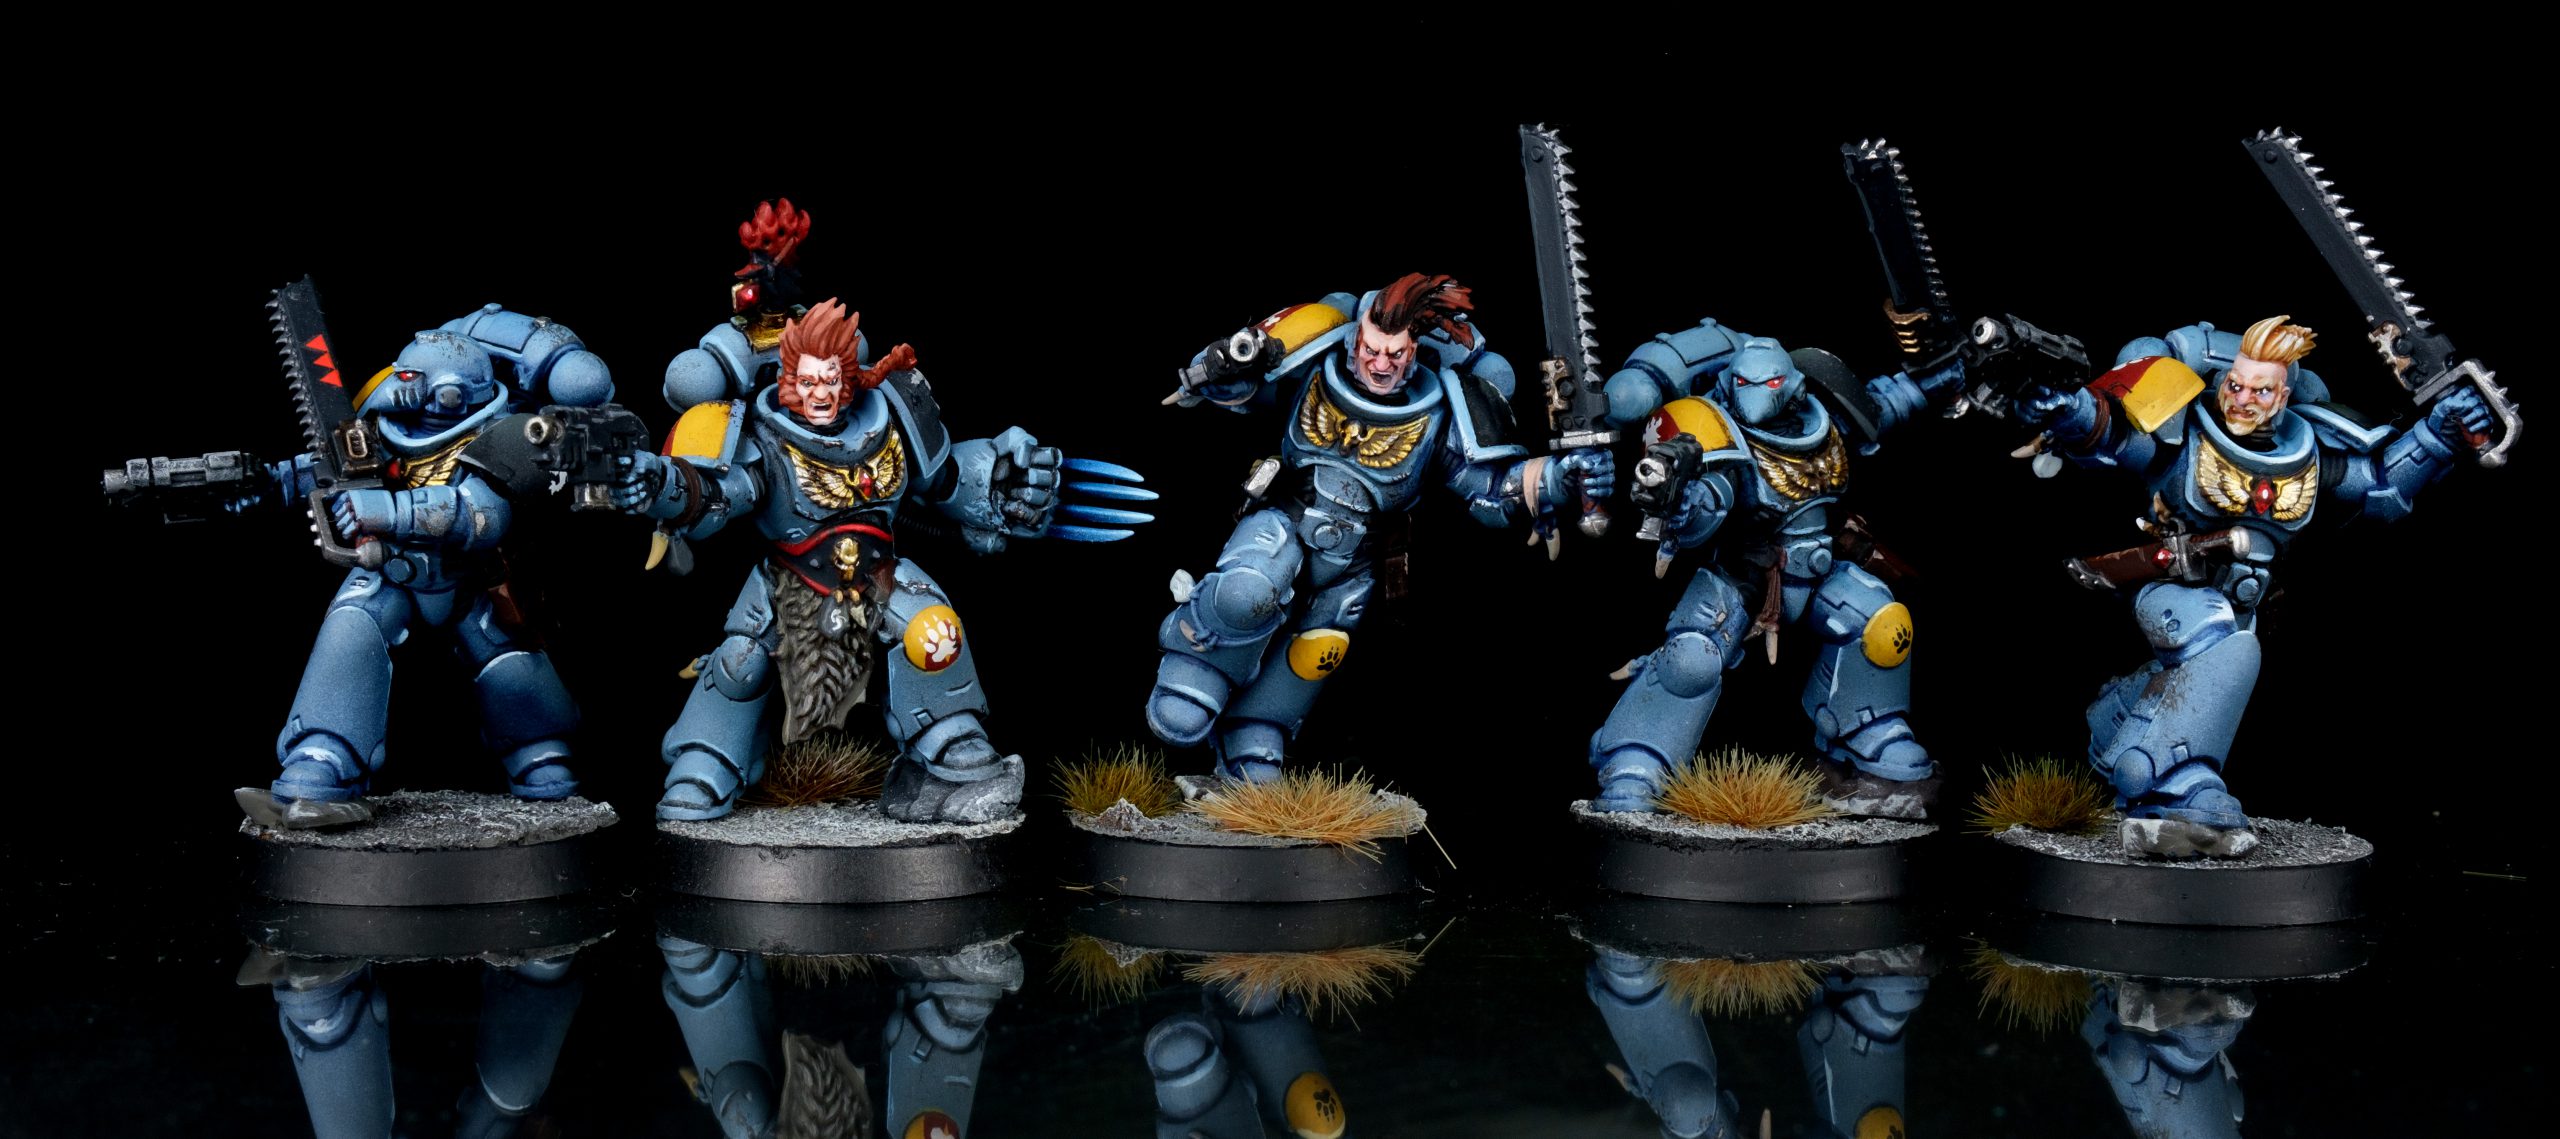 Space Wolves Blood Claws - Credit: keewa
Using Your Detachment
Now, let’s talk Saga of the Great Wolf timing. Your strats are straightforward, and your most used ones will be Armor of Contempt, Advance and Charge, and the reactive move when shot. Keep CP handy for that, as well as for putting a unit into a Hunting Pack. A lot of your CP will be spent on grenades, interrupts, heroics, and rapids, so keep those in mind. You will often be playing with a razor thin margin of CP, so stay disciplined and don’t be afraid to ditch bad secondary draws early. . Hunting Pack priority also flexes based on the game, but my general fallout is;- Hunter’s eye - +1 to hit in shooting - this one is throwaway, and often gets used either in turn 1 for Wolf Scouts, or late game for Intercessors and the Repulsor in clean up time.
- Ferocious Strikes - Lethal or Sustained per unit in the fight phase - save this for combat go turn. This one seems like the most powerful, and is tempting to use twice, but generally isn’t needed army wide for two full rounds. This one is a prime candidate to use the stratagem to turn on when you need a bit more oomph. It is worth noting that the Captain’s free strat can be used off the board, and since he re-rolls charges anyway, it can be nice to throw him into this doctrine from space in case you end up using it. Consider using the double turn of this when facing another melee army that wants to be close anyway to boost damage.
- Encircling Jaws - units can re-roll advances and charges - this is the one. Genuinely. It’s not sexy, but it is reliable. Boosting damage is no good if you can’t get struck in, and boy, does this get you stuck in. Think it through - Terminators can reliably move 17-19” with an advance and charge. Wulfen can more 22”. Your whole army rerolls charges, you can fish for rerollable advances, and these compound on each other, and each re-roll is the equivalent of a CP. This makes your army fast and reliable, and with the durability stats of this army, that can be a truly hard thing to keep off of your back.
Things to Keep In Mind
I will remind you, I am not here to tell you this list is the new meta hotness. It struggles into Necron C’tan spam, it can be rough into Guard, and it struggles some into the meta marine builds. But this army is fun, it’s reactive, and I have never felt that I can’t compete with even top armies with some good play. This list requires a lot of brain power, but that is how I love to play the game. Be deliberate, think ahead, and be creative. But also don’t be afraid to turn the aggression up to 11 when the time comes. If you’re a Wolves purist and sicko like me, I hope this gives you some ideas of how to get the most of your boys.Give this list a try, make some tweaks, and hit me up in the Warhound channel of the Discord if you have questions or suggestions (that I can steal from you.) Especially since Rob now knows my secrets, and I can’t lose to that guy…
See you on the next one, where I will do some deep dives on Space Wolves units and their potential uses.
Thank you for being a Warhound Patron! Have any questions or feedback? Drop us a note in the comments below or message us on Discord.