Another is the number of cards in your list. Some players prefer to have significantly more cards, because that allows them to out-activate everyone they face. Others want fewer, because that gives you an advantage in each supremacy roll.
I think it’s fair to say that most TLAOK players don’t pay that much attention to this, in reality. The abilities of individual units and army synergies end up being much more important, on balance, so the normal distribution curve I expect has a very tall middle in the 9-12 card range. But winning the supremacy roll can win games, so if you’re going to try to go for that you’ll need to go pretty hard for it.
I wonder how hard is reasonable…
Why One Regiment Isn’t Realistic
Let’s start with the obvious idea. One character embedded within one Regiment would guarantee you the fewest cards, regardless of who you faced. I just checked, and one of the Jorogumo monsters alongside a Regiment of 21 stands of Kami Ayakashi would reach almost 2,000 points. That’s two cards, two activations, and one massive Regiment that’s pretty much impossible to kill.And pretty much impossible to manoeuvre.
If you got it onto an objective zone it would definitely score you some points. And with 147 wounds in total, and Tenacious (1) it would take a lot to get rid of it. But there aren’t many scenarios that list would do well at, because what I’d do against it is probably stick some chaff to it to hold it in place, then run everything else past it and sit there scoring other zones while you start to slowly wheel yourself into round 10, supremacy advantage or not.
Finding the Right Army Rule
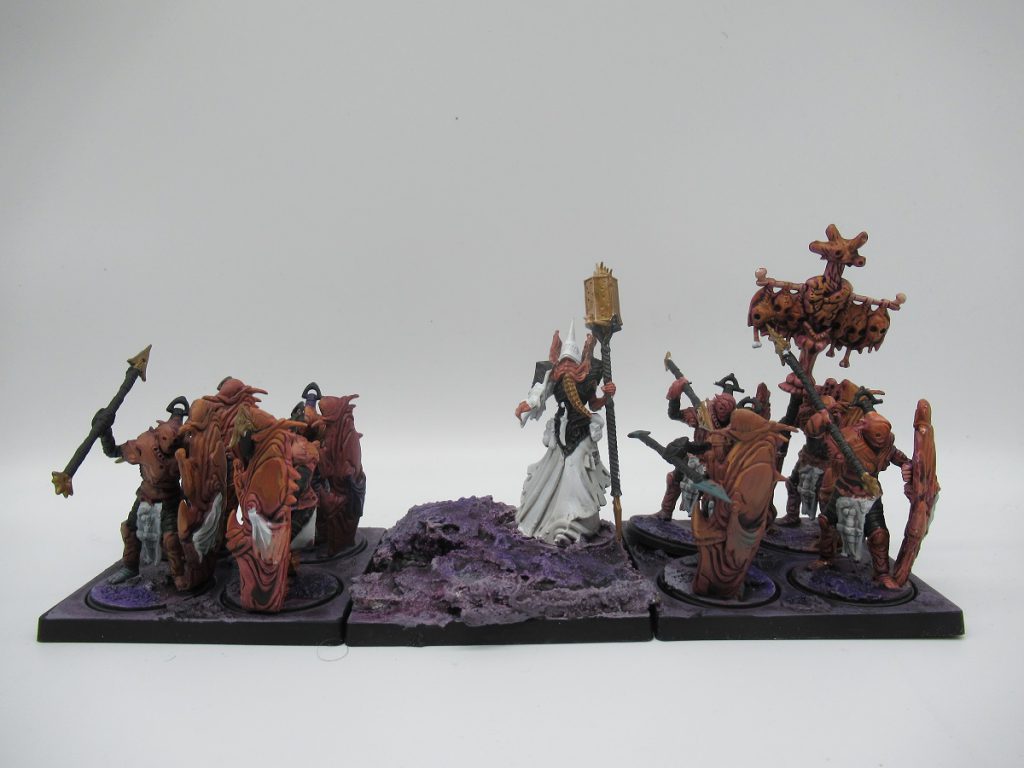
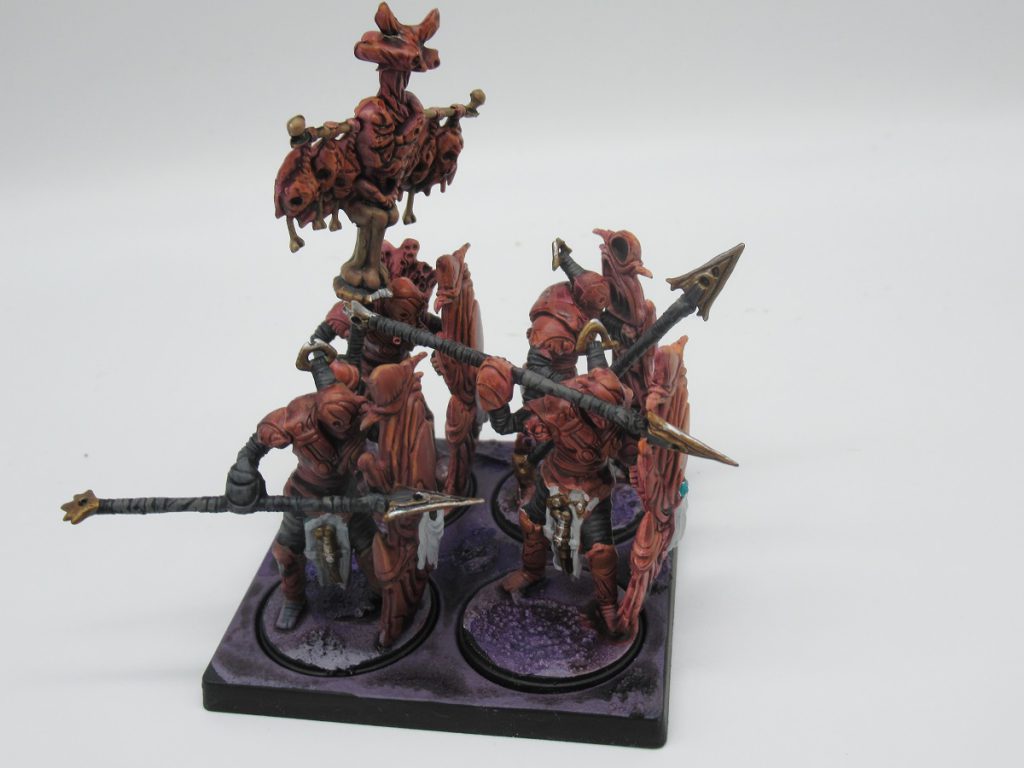
Everything about good list-building ultimately comes down synergies, and even the idea of a tiny number of cards is something that some factions are fundamentally allergic to. But not all.In my article about big blocks of infantry I pointed out some that work pretty well. The Hundred Kingdoms can give big bricks Support (3), which is horrible to face. Twenty stands of anything to give 60 Attacks before calculating the front row will cause a lot of damage. But my first faction was the Spires, so I have to go there.
If we’re talking about big blocks of infantry, the Spires have two that ought to work really well: Force-Grown Drones and Bound Clones. Now, I’m sure there are better versions than this, but for the sake of symmetry let’s go with the following, legal list:
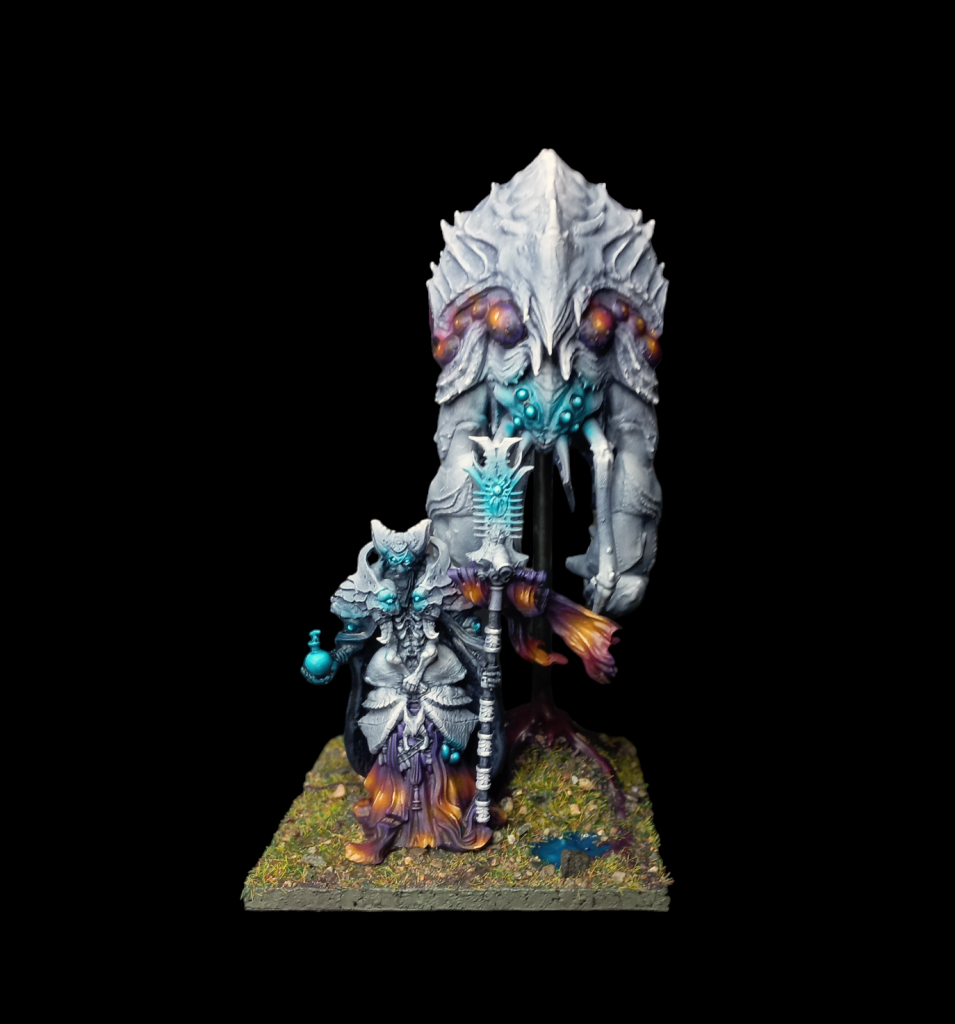
- Pheromancer (warlord) + Degenerative Aura and Linked Neuroreceptors
- 25 stands of Force-Grown Drones + a Catabolic Node
- Biomancer + Biotic Renewal and Induced Fawn Response
- 25 stands of Bound Clones + a Ward Preceptor
They'll Take a Lot of Hits
There’s a downside to the list, of course: No Lights. You could run the FGDs as Lights but that restricts scoring. In most games, therefore, this is going to look like bringing on one Regiment turn 2, and the other on turn 3. You need to score, or this won’t work.But if you can get one of these onto an objective zone - preferably two or three, given their size, it’s going to take some time to get it off.
My instinct is therefore to go with the Bound Clones first. The Ward Preceptor gives it the ability to move on the opponent’s turn, which gives it a bit more flexibility to allow the FGDs to come in alongside or behind. But against the right army, on the right scenario, I might make the FGDs Light in order to get them on turn 1 and establish table presence.
Both blocks come in at a delicious 100 wounds each, and their inbuilt healing means that the number in effect is actually even higher than that.
Activating the Annoying (3) Special Rule
This list works because it’s annoying to play against. In some games you’ll roll badly on the supremacy so one won’t come on until turn 3, and you’ll end up with something like Hunting Pack or Mounted Squires preventing you from getting anywhere, but in most you’ll end up in a scoring position, and at that point you’re laughing. I expect quite literally.The Force-Grown Drones will activate Lethal Demise (2) most turns, and will probably heal 6 wounds without even trying, and Decay won’t do anything to them. This means that if you’re attacking them you absolutely need to do more than 6 wounds to feel like you’re making any progress at all, and that means taking 4 hits back straight away, and you’ll have given yourself Decay in the process. And they even heal while Broken, thanks to the Underspire army rule. And when you go for it in force and have three or four units engaged, the Catabolic Node explodes. Incredible.
The Bound Clones are annoying in a different way. When they activate their Strain Expression it will give them Support (4), which is ridiculous. At full strength, that’s literally 104 Attacks to distribute pretty much as you see fit. They’ll only heal 5 per turn, which isn’t so much, but with Tenacious (1), Shield, Bastion and Untouchable that’s quite possibly going to be defending on 4s rerolling 6s, and when you ignore 1 hit and then heal back 5 every turn I can imagine some strong emotions on display, regardless of who ends up scoring more points. I know who will be having more fun.
The weakness in the list is being challenged to a duel, and even then it’s only the FGDs that need to be worried thanks to the Bound Clones’ inbuilt Bodyguards rule.
Relying on Luck in a Wargame Is Probably Alright
I doubt this list is going to get to the world finals. But I doubt that I ever will, and I’m alright with that.What I can say is that with a bit of luck (and a bit of skill - I’ve written about the importance of positioning with big blocks before), this list can perform extremely well, and almost certainly will be a lot of fun along the way.
There are a lot of “if”s you’ll need to rely on if you turn up to a tournament fielding this list. The scenario will make a difference - the sheer size of the blocks will make it possible to potentially score multiple zones and attack markers simultaneously, which would be glorious, and yet the tiny number of units completely eliminates any options if they get stuck, which would be sad. The opponent will also make a difference - this list will comfortably chew up most Medium infantry thanks to rolling over a hundred dice, but will disappoint if the units get held up by something worthless and then get picked off with ranged volume.
That’s all very much the roll of a die, however, and there’s one die roll that leans more in the favour of the one armed with this list. Many games sit on a knife-edge, with a single supremacy roll dictating the ultimate outcome of the game. With a hand of fewer cards offering an advantage on that roll, this list very well might tip the balance in your favour, leading to the satisfaction of a fourth-place finish rather than twelfth.
Have any questions or feedback? Drop us a note in the comments below or email us at contact@goonhammer.com. Want articles like this linked in your inbox every Monday morning? Sign up for our newsletter. And don't forget that you can support us on Patreon for backer rewards like early video content, Administratum access, an ad-free experience on our website, and subscriber-only content covering competitive Warhammer 40K!