Hi! I am NoahB or more commonly on the interwebs DomoDoGood. Today we are going to talk about using Artis Opus dry brushes to get a unit ready fast and making it look pretty. The trick is a little moisture, and you can get airbrush level blends with your brush.
Like a lot of people my hobby journey really kicked off during lock down. I would pick a technique or a style and paint an entire army using it as much as possible. Unfortunately, I when I tried to do airbrushing I really struggled. While looking for my next army and technique I came across an Admech lot and found the Artis Opus dry brushing videos.
The control and quality possible with that technique and without an airbrush really caught my attention. I ended painting over 10k points of Admech with a set of Artis Opus brushes and the dry brush technique. I was in love. I started experimenting with other similar brushes like make up brushes and eventually the Army Painter secret weapon series; after my tests I've landed on the Artis Opus brushes. During my trials and tribulations I tried using the approach to do display level pieces as well as speed painting and everything in between.
In this article I want to walk you through my process and lessons learned using Artis Opus dry brushing to speed paint a unit. When I say speed paint what I really mean is get a unit to a decent level in less than a calendar day and about 4.5 hours sitting time.
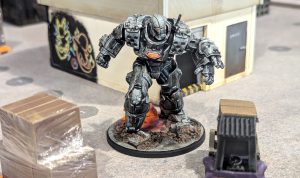
Like all my projects, this one had a purpose. Back in the day (12 years ago) my wife and I painted some purple, yellow, and green terminators as a little craft date and she called them “The Crudest Dudes”. We have one of them left and I thought it would be cool for Valentines day to re do them with my current skill level and new sculpts.
 Credit: DomoDoGood
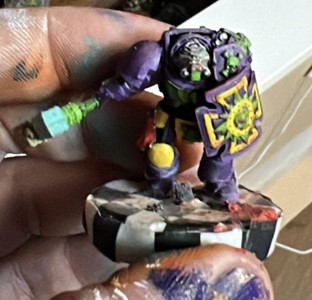
I think we can do better.
Starting out
To get going with this style we need to cover a few things first.Brushes
I have the expanded dry brush set with the oversized and undersized extra brushes beyond the Standard Series D. You don't need the extra sizes of brushes but I like the granularity as far as size. When you sit down to do this style you need a few things that are basically required if you omit any of them you will not get the effect you want- A set of brushes with rounded heads. For this tutorial its the Artis Opus brushes but you can use makeup brushes or alternatives. The alternatives will work but I have had the best effect and brush life from the Artis Opus brushes.
- A small dish with a piece of pluck foam or sponge (included in Artis Opus sets).
- A couple ounces of water
- Some brush cleaner. Again I used the brush conditioner from Artis Opus . There are great alternatives but I really like how soft the conditioner leaves the brushes which extends brush life.
- A texture palette.
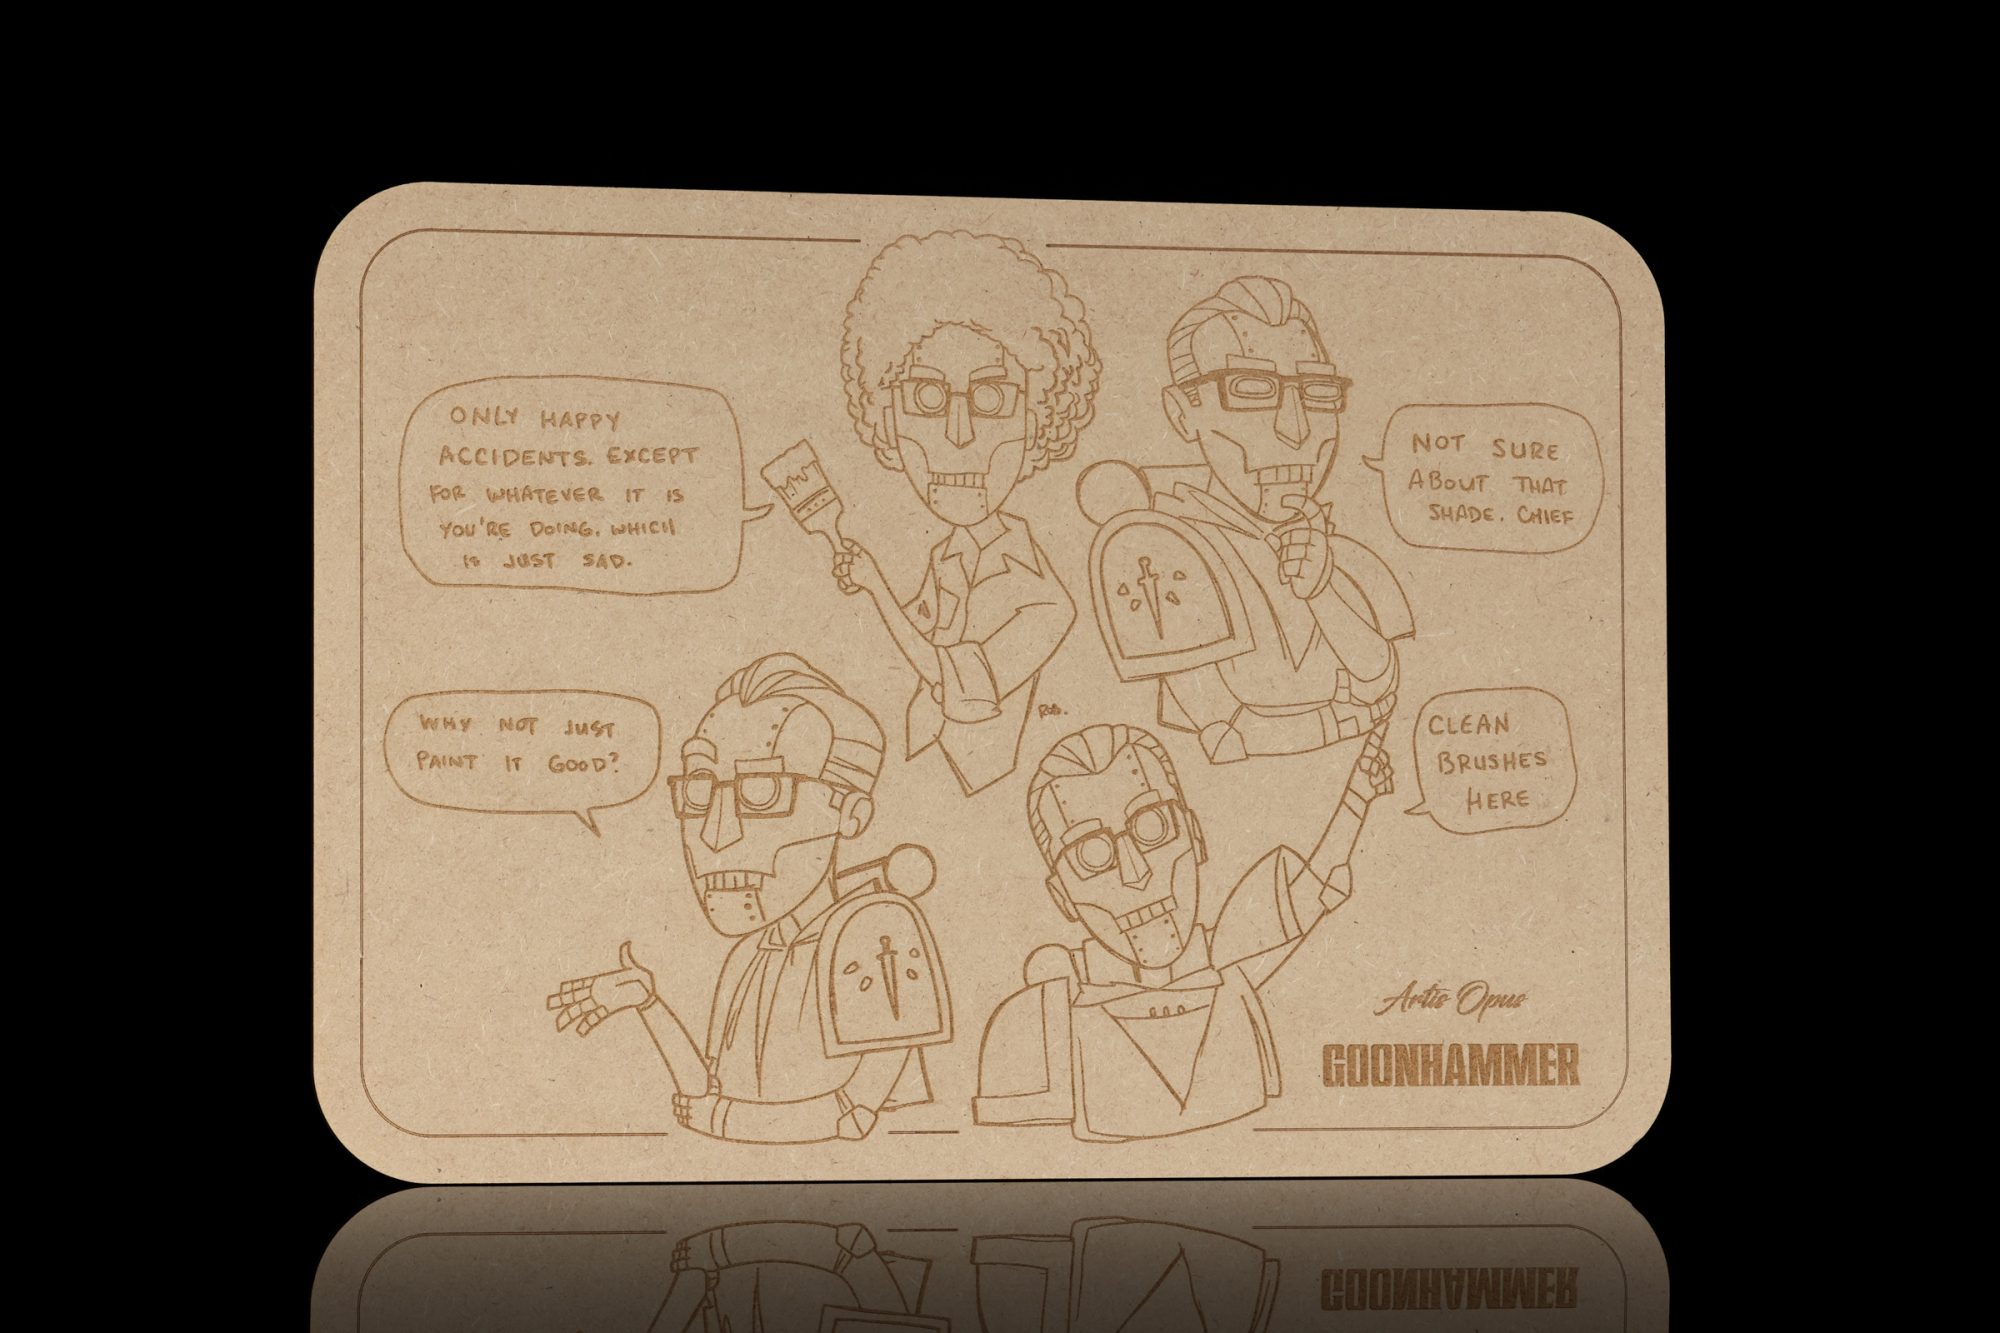 Gregbot Palette. Credit: Andrew Haywood
Paint
As far as paint selection goes I did the Admech army mostly in Citadel and my Knights mostly in Two Thin Coats. You can use any of these paints but I have found that I prefer thinner higher end paints for the brighter layers and citadel paints or non air paints for the darker tones where coverage is more important.When you start you are going to want to select a very dark color to be your shadows, a middle color to be your main and a highlight. You can use more colors than this to make different gradients but you can also just use black / white to mix into your paint to adjust your tones. For blacks and whites I like the AK interactive line.
Miscellaneous Notes
Two more notes before we get into what we are doing,- You want every color you use to show somewhere because these different shades create the concept of light and shadow on the model. One way we do this is pick the direction you want your light source to come from. When you start doing your bright colors you want to hold the brush and dry brush from the angle of the light source; this will mean you don't hit some parts of the model and that's a good thing.
- This tutorial maximizes appearance and speed. There are some steps like Zenithal undercoating that I just skip entirely. You can add these steps at a few key places which I will point out to further elevate your end product.
Painting
Fundamentals
What you are basically doing is using a very small amount of paint distributed over a large brush surface area applied in many thin, mostly dry layers. I say mostly dry because traditional dry brushing looks dusty because it is too dry. So this is effectively “Moist Brushing” . We are using the smallest amount of moisture to ensure the paint goes on smoothly and to allow for blending. This is why you need a sponge or some foam.The next thing is what I call “The Ring Approach” . The idea is to divide the object we are painting or the area of the model—like a shoulder pad or a knee cap—into concentric ring sections. The smallest actual area will be our black or darkest shadow (the Black Border outer ring). The next ring will be 2-5 times that size and is going to be our darkest pure color, in this case a very dark red. More than half of the object area will be our main color ring. Our medium highlight will be roughly 25% of the surface area and the final brightest highlight sits in the center, and is tiny like the black outer ring.
At the transition point between each area we will do a 50/50 of the color we just did and the color we are about to do in order to create a smooth transition. Using this method you can easily blend right in your brush so this does not add much time.
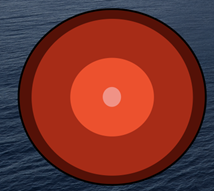 Credit: DomoDoGood
This image kind of acts as a guide. It is important to think of both the individual area of the model and the entire model in this sense because thats what gives us our sense of light and dark. Most of your model will be your main color, high brightest areas will be the brighter colors and your shadows will be the smallest area but the most pronounced.
Primer and Undercoats
- Chaos Black (Citadel)
- Dark Blue (Any)
 Primed black. Credit: DomoDoGood
Next up I squeezed a few drops of <Dark Blue > from Vallejo Game Air onto my texture pallet.
I dipped the handle of my brush into my water and tapped it onto the sponge then dabbed my brush head to get the barest moisture on the end of the brush. This is a really important step, the small amount of water and the sponge are what help avoid chalky looks and give you smooth blends. [Ed: For more details on the Artis Opus brush and method, check out our larger review here.]
I got just a little paint on my large brush. I then worked my brush against the texture palette gently til the paint will go on looking a little moist but light enough that its hard to see. The purpose of the palette is to test how much paint your brush will put on the model. Don't be afraid to get it messy! The first coat should look like this.
 Very subtle dark blue. Credit: DomoDoGood
It looks mostly black! Only where the light hits it the most will look blue-ish/purple. On this pass I'm stippling which is a cute word for poking your model straight on with the brush. I am also pressing medium hard to get the color to go deep leaving true black only in the deepest recesses.
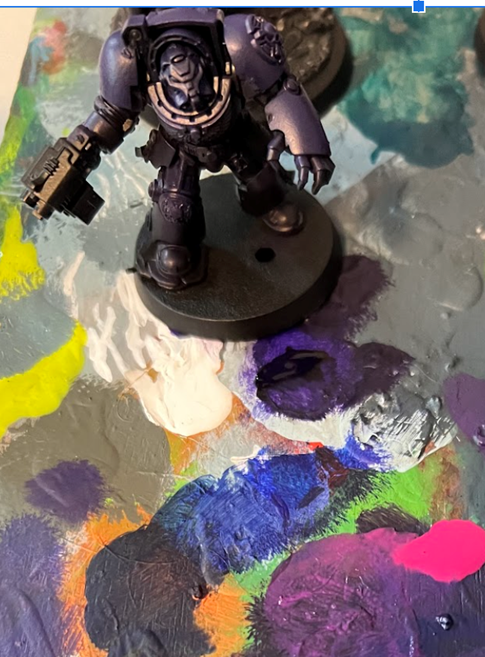
Then we are going to do this again after we have done all the models (roughly 5-10 minutes of dry time). The second pass we are going to drop some Hexed Lichen on the pallet and work that in 50/50 with the blue from before. This time we aren't going to push as hard when stippling which is going to leave a little blue in the shadows.
 Credit: DomoDoGood
The model should look like this roughly after this stage . It will still look black with the slightest hint of blue on the dark spots and a muted purple at the brightest.
Main Color
- Hexed Lichen
We are going to jump straight to our 50/50 of our first highlight. This saves us time and makes dramatic color shifts which are fun to look at. You could also smooth transitions by adding additional layering steps. You would do a 50/50 stage of lichen and your slightly bright purple then a pure coat of your purple leaving lichen and your 50/50 at the extreme edges of panels and surfaces. We did not do that this time; this gets back to how much time you want to put into your models.
First Highlight
- Warlord Pink
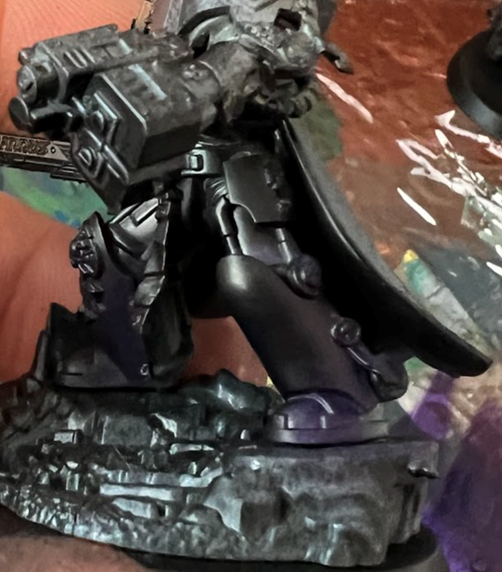
For a top down light source I mentally marked off half way down the pauldron, the slope of the back , and any bits that stuck out beyond the shoulder, back, or arms. Imagine shining a bright light from the top and painting only the lit surfaces. Remember that changing the lighting is as simple as changing the angle of your brush.
With our barely moist brush we are going to hit all these areas with our 50/50 which is effectively a broad highlight. Unlike edge highlights we are covering a pretty good part of the model. It should look something like this.
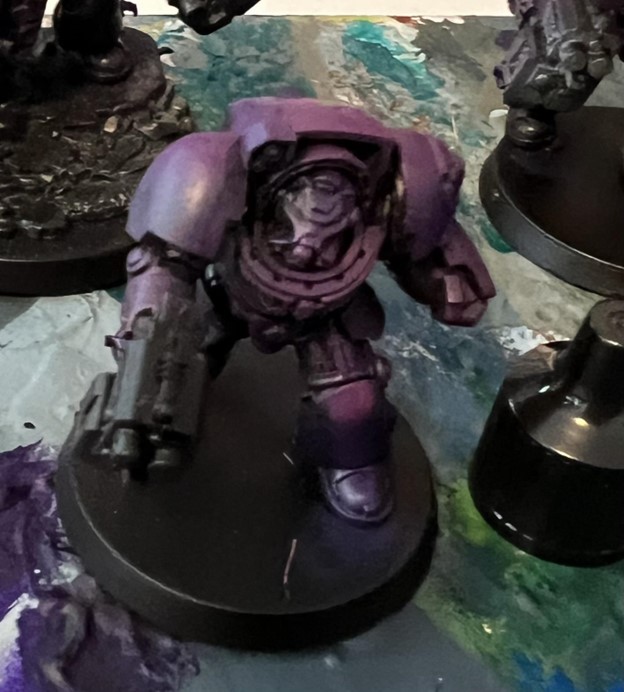 Credit: DomoDoGood
Then your are going to go to pure Warlord and do it again but leave a little of the color you just did showing; this just means either don't go as far down on smooth surfaces or don't push as hard on raised surfaces. It should look like this.
 Credit: DomoDoGood
Next we are going to change brushes again.
Second Highlight
- Neo Pink (2 Thin Coats)
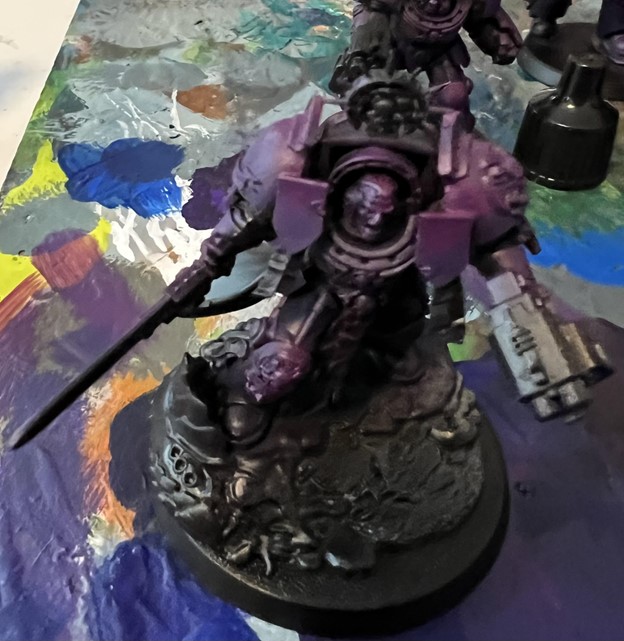
 Credit: DomoDoGood
Now we are going to do it again covering even less with the pure Neo Pink. You are going to focus on the highest points and hit the hard edges gently. It should look like this when your done.
 Credit: DomoDoGood
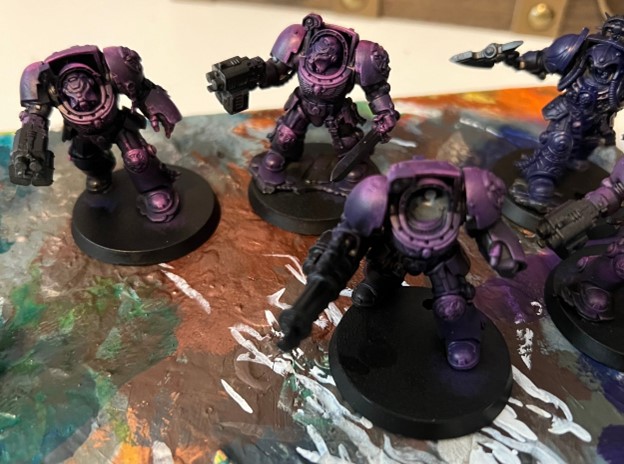 Credit: DomoDoGood
Icons, Devices and Trim
- Brown
- Orange
- Yellow
- Corpse Blue
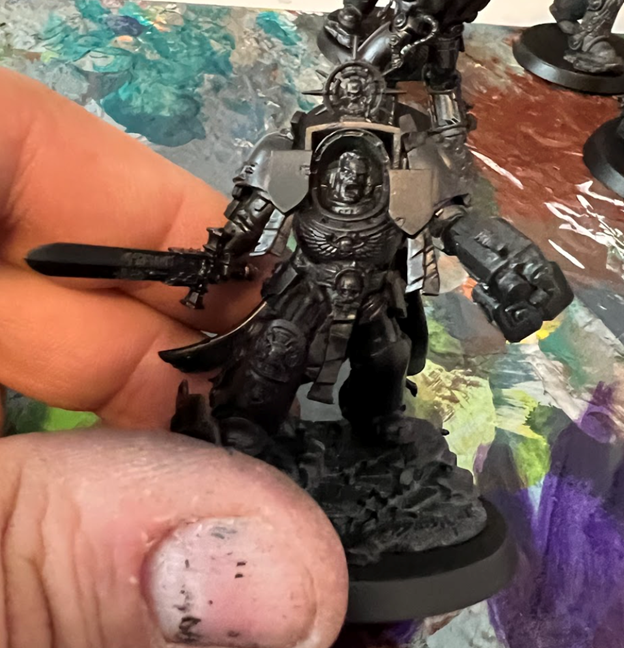
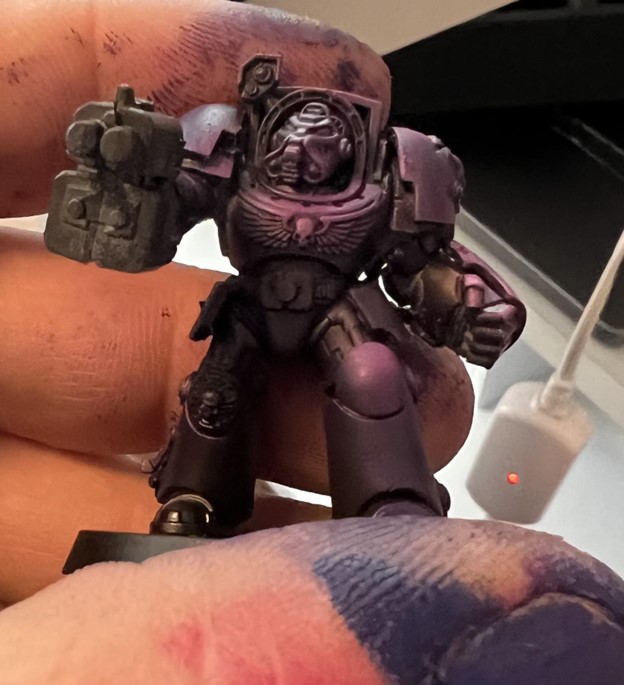
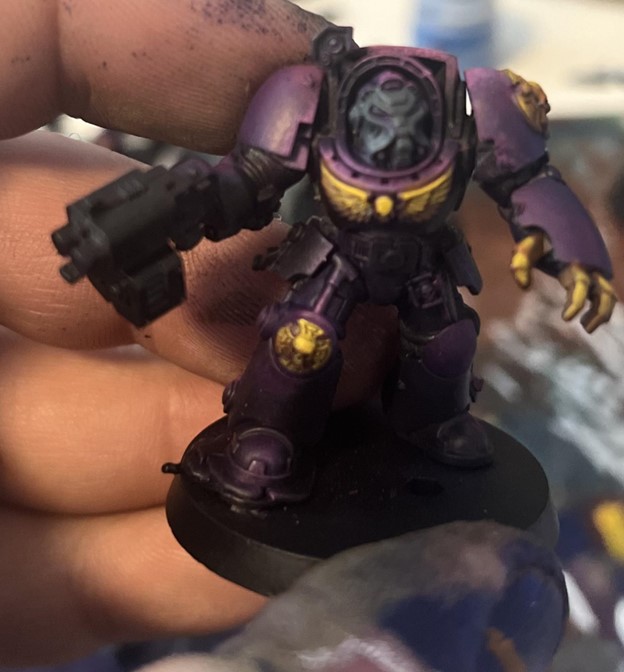
Next we add the yellow to the top third or so of the devices, you can do a second pass with the yellow if you want a little more intensity.
 Credit: DomoDoGood
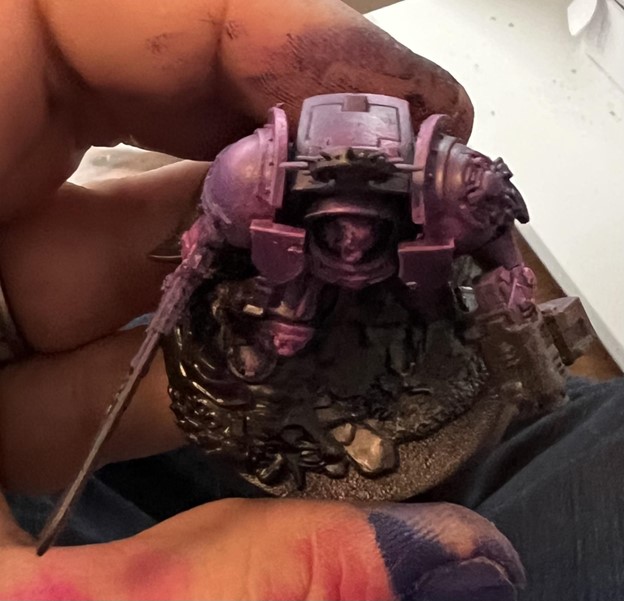
From there we are going to block out a bunch of base colors. Mephiston Red for the cloak, Corpse Blue for anything thats going to be metal. We are also going to use black and white to sketch out a gray scale on the power weapons. For this one I did a quick and dirty power weapon. I’ll talk about doing those specifically in another article. I hit all the scrolls and paper with Kharak Stone. While I was at it I went back with some pure white and touched a few dots on the brightest areas of yellow.
 Credit: DomoDoGood
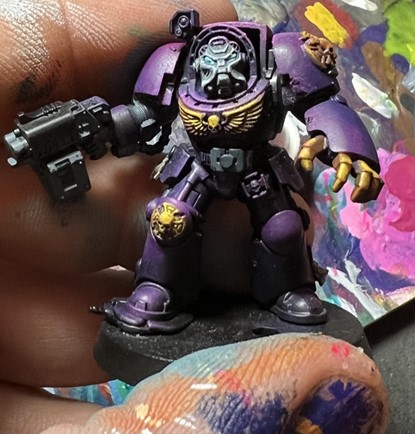
With my smallest dry brush I got some pure white, a moist tip, and then hit the edges of the helmets on the Terminators. With a detail brush I dropped some white on the lens and came back with Fluorescent Blue from Vallejo over them. What you should have is something that looks roughly like this.
 Credit: DomoDoGood
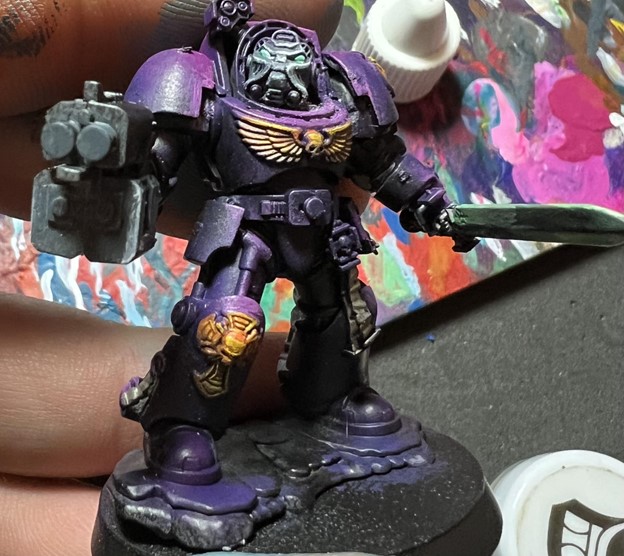 Credit: DomoDoGood
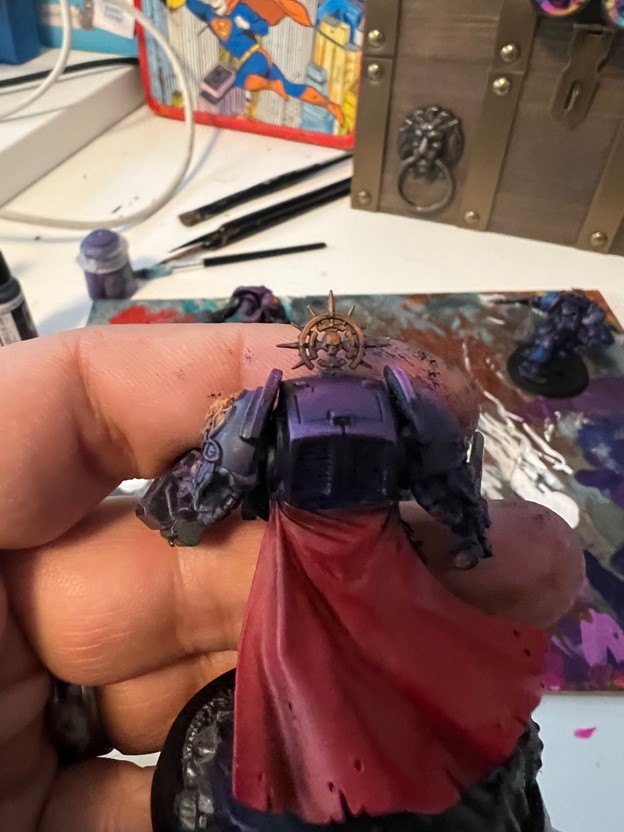
From here I effectively repeated the same steps I use on the yellow or the purple again on anything on the model just in a different set of colors. For Cloaks I did Mephiston Red to Wild Riders Scarlet to Bright Orange with an edge highlight of Flash Gitz Yellow. I did effectively the same thing for green
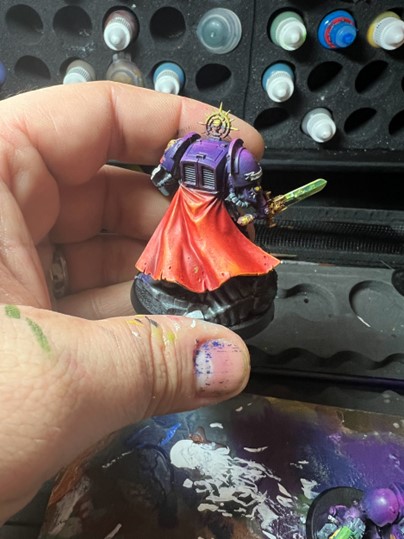 Credit: DomoDoGood
All said and done it was about 4.5 hours sitting time and resulted in a pretty slick unit.
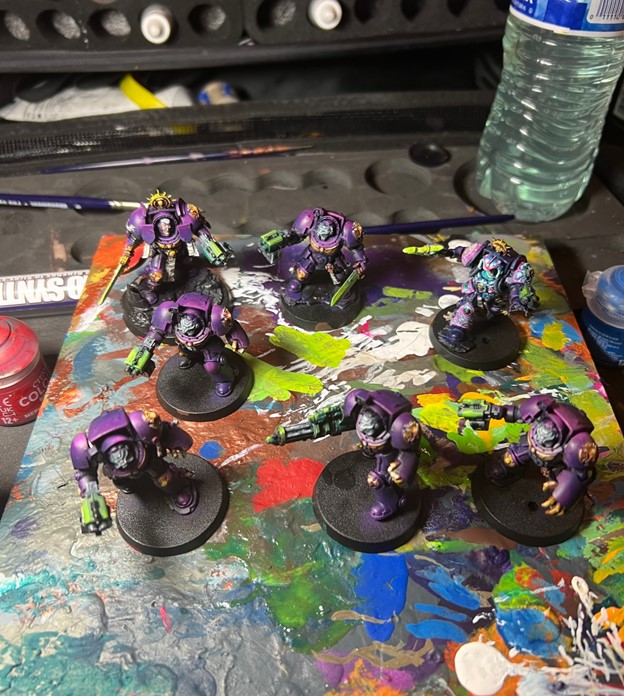 Credit: DomoDoGood
Looking for more information on this technique and brushes? Check out our larger review! You can also pick up a set of Goonhammer x Artis Opus drybrushes here.