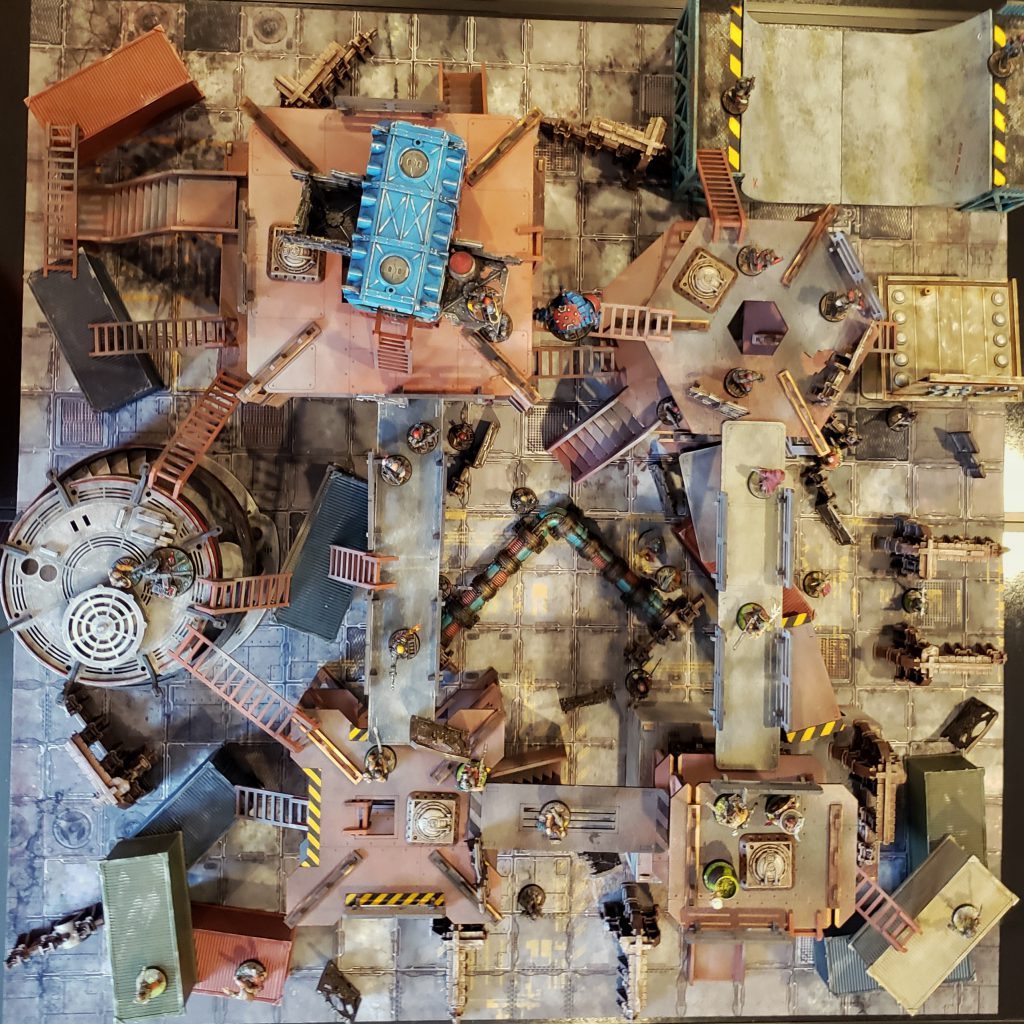
After two years of Nurgle-related hiatus, my club (the 'Arvard 'Ardboys - at Pandemonium Books & Games in Cambridge, MA) is gearing up to host another Necromunda campaign. For the last two go rounds I was a player, but our arbitrator has decided to pass along the torch! I've stepped up, and will be running a Lost Zone campaign - with some potential Warcry convergence style optional side games every week. The massive amount of interest is amazing, potentially EVERY single gang will be represented. This does have a downside... we need more good terrain to play on!
 Credit: Fowler
About five years ago, I invested in a Promethium Forge mini bulkhead kit, and it's been a workhorse in many home and club games of Necro since. Alongside that, I picked up a dozen Reaper shipping containers and 2 sets of the
- Lots of flavorful scatter
- Walkways
- Centerpiece terrain (with verticality)
- More hazard stripes
Well, I guess it's go time!
 Battlestation. Credit: Fowler
My hillock of shame has quite a bit of industrial scatter in it. Step 1 in this project was clipping, cleaning, and assembling an endless parade of barrels, crates, containers, & cranes. I threw together a few more intricate pieces to represent some shady downhive traders. Even if the action is taking place on Cities of Death buildings, or MDF L-ruins, these kind of bits will keep it feeling more like the Underhive!
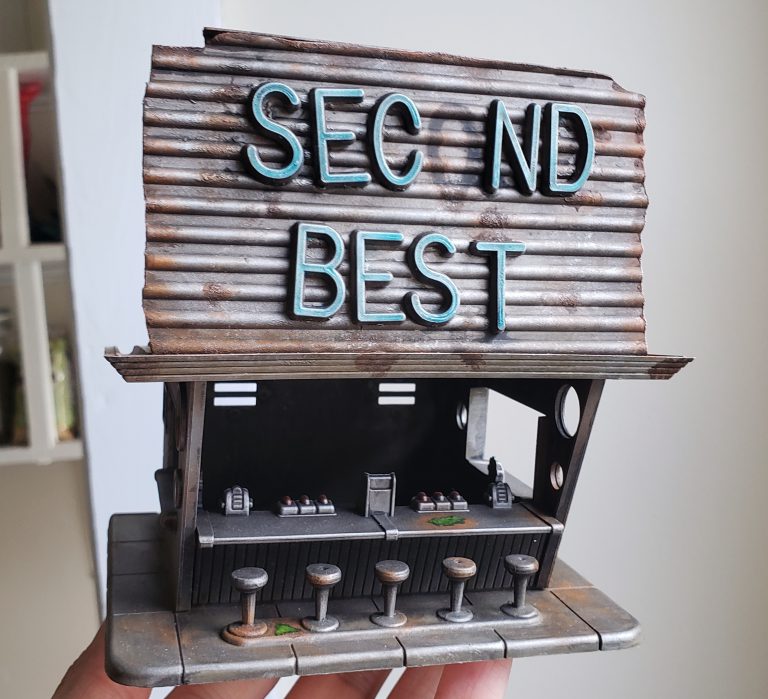
 Weapons trader's hut. Credit: Fowler
 The rare stocks, featuring Fancy Hat. Credit: Fowler
In terms of paint schemes, I have some general themes mapped out. Barrels and crates are going to get a pretty standard box art red. Cranes and some of the other industrial machinery got a base of averland sunset.
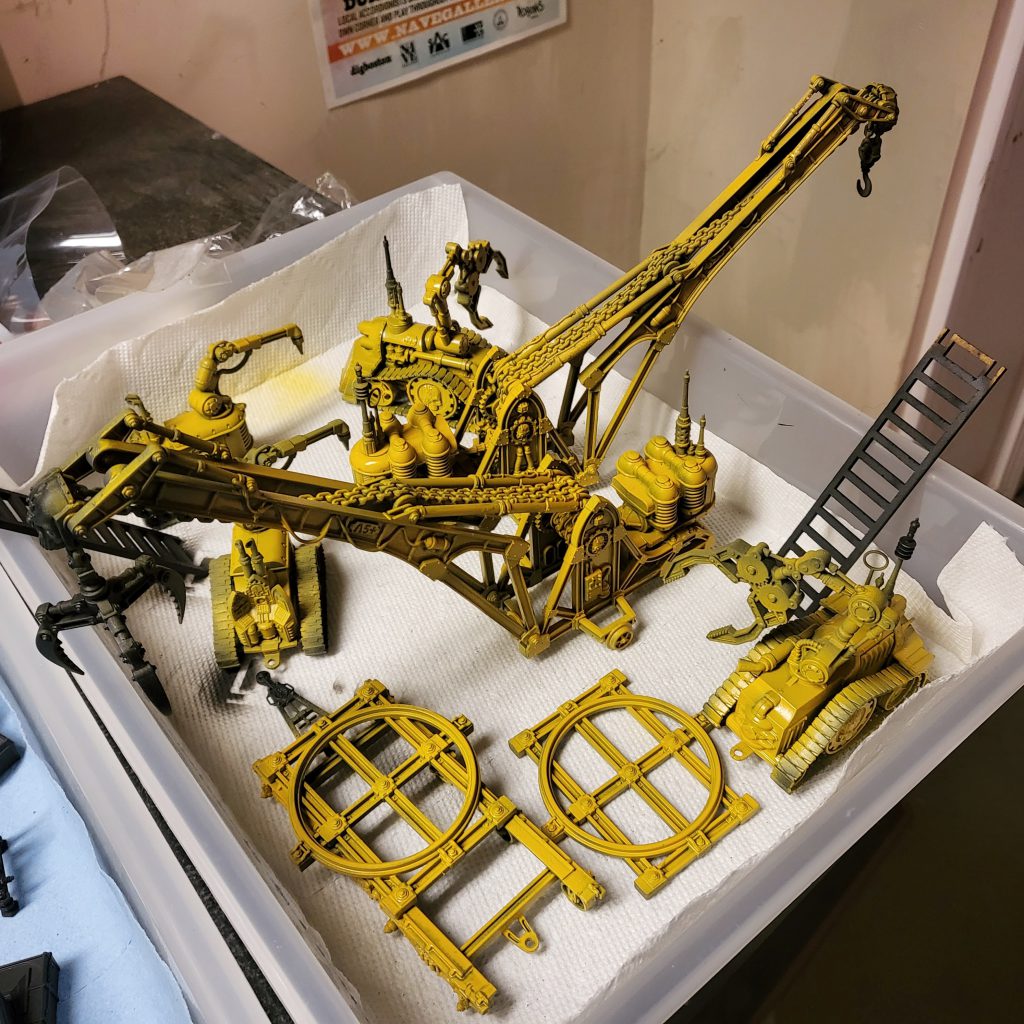 Credit: Fowler
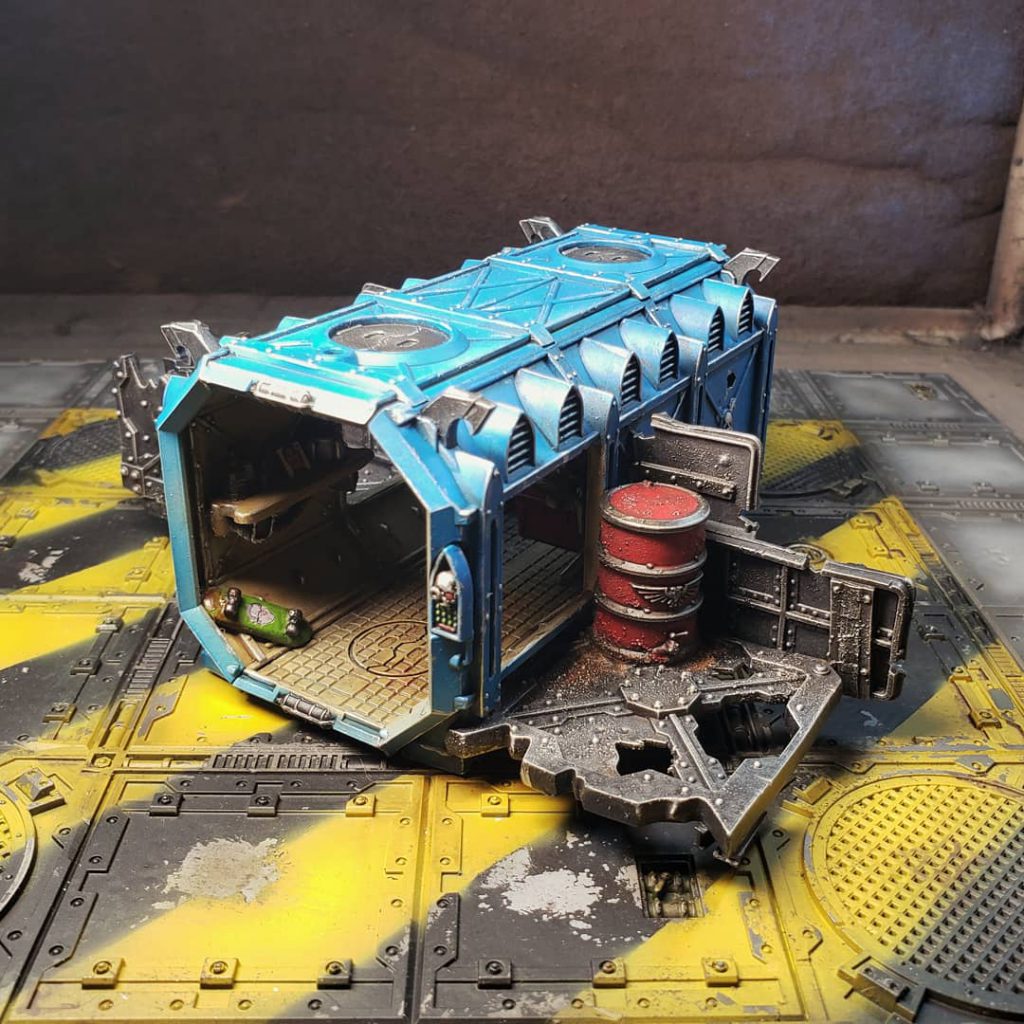
Containers will be taking a cue from the Manwolfs Hab Container playset. I will be weathering and silver line highlighting, and throwing enamels on afterwards to grime it up.
 Credit: Fowler
It it's worth doing... it's worth overdoing, right? I don't know where I got the idea from, but all of the containers will be hazard striped up on the doors. Shout out to Tamiya masking tape for making this stage reasonably easy for the first five! Still need to clean up some of the edges, but the results are nice. Even if you don't have an airbrush - you could stipple on an opaque yellow paint and get similar results.
 Credit: Fowler
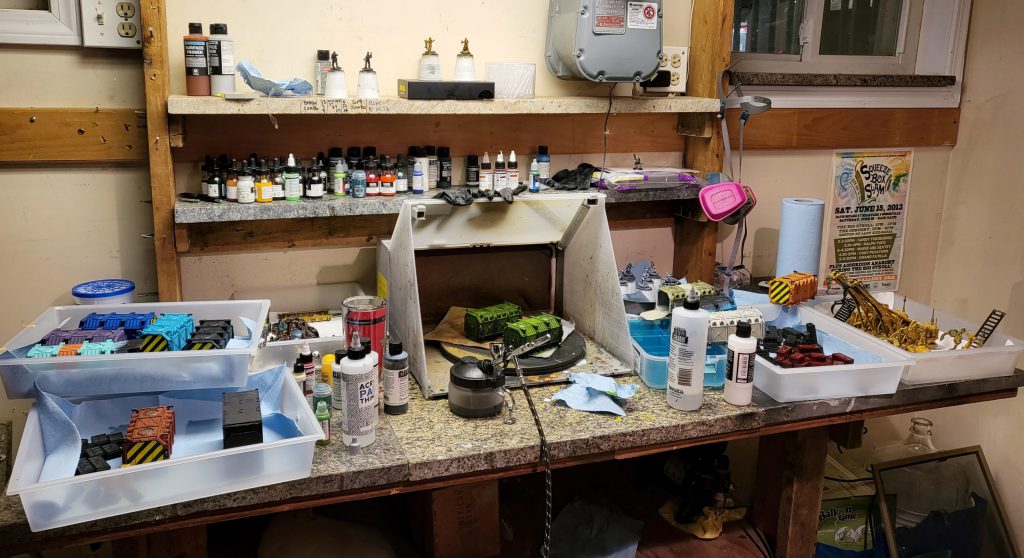
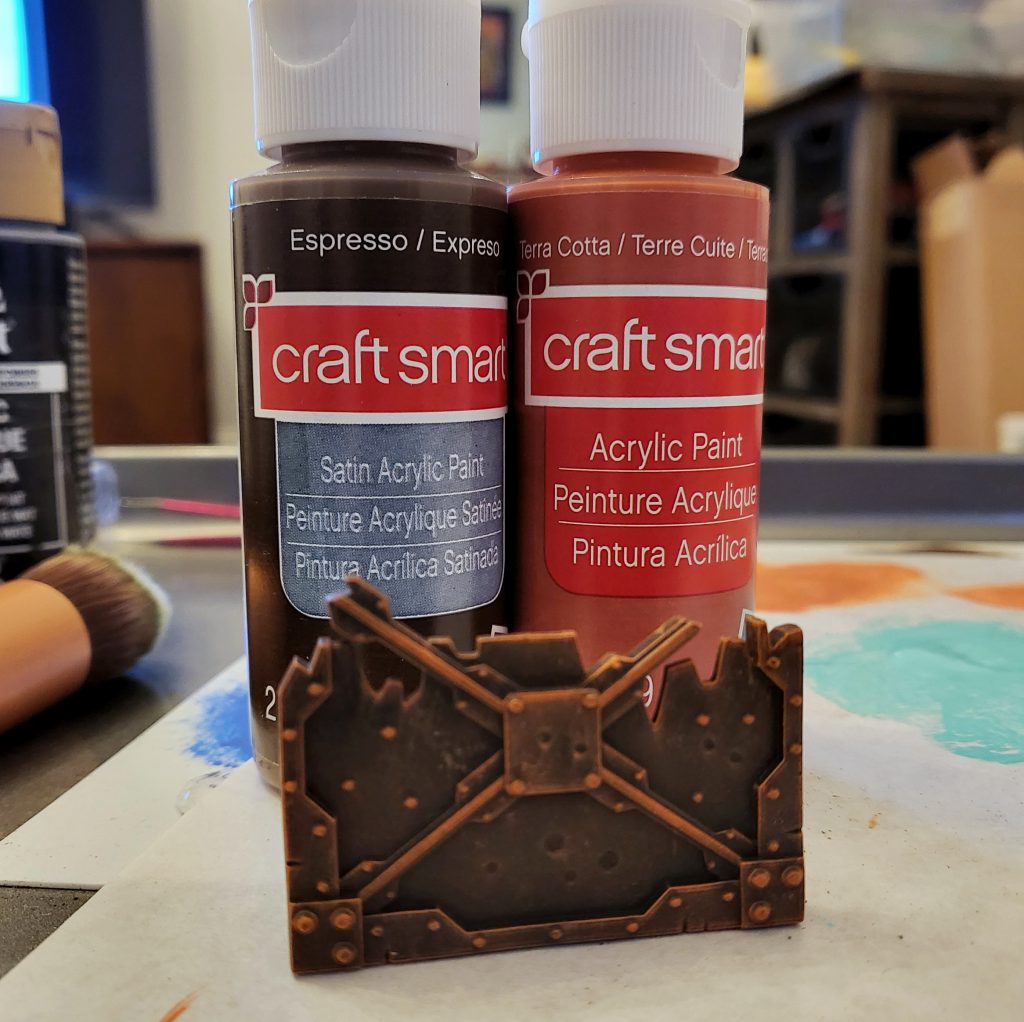
This project is going to involve a lot of rusty metal, and I made the call to try out some craft paints for the drybrushing assembly line. Craft Smart behaved well when drybrushed on with a makeup brush, and is likely to be the basis for a good majority of anything that isn't getting a bold base color.
 Credit: Fowler
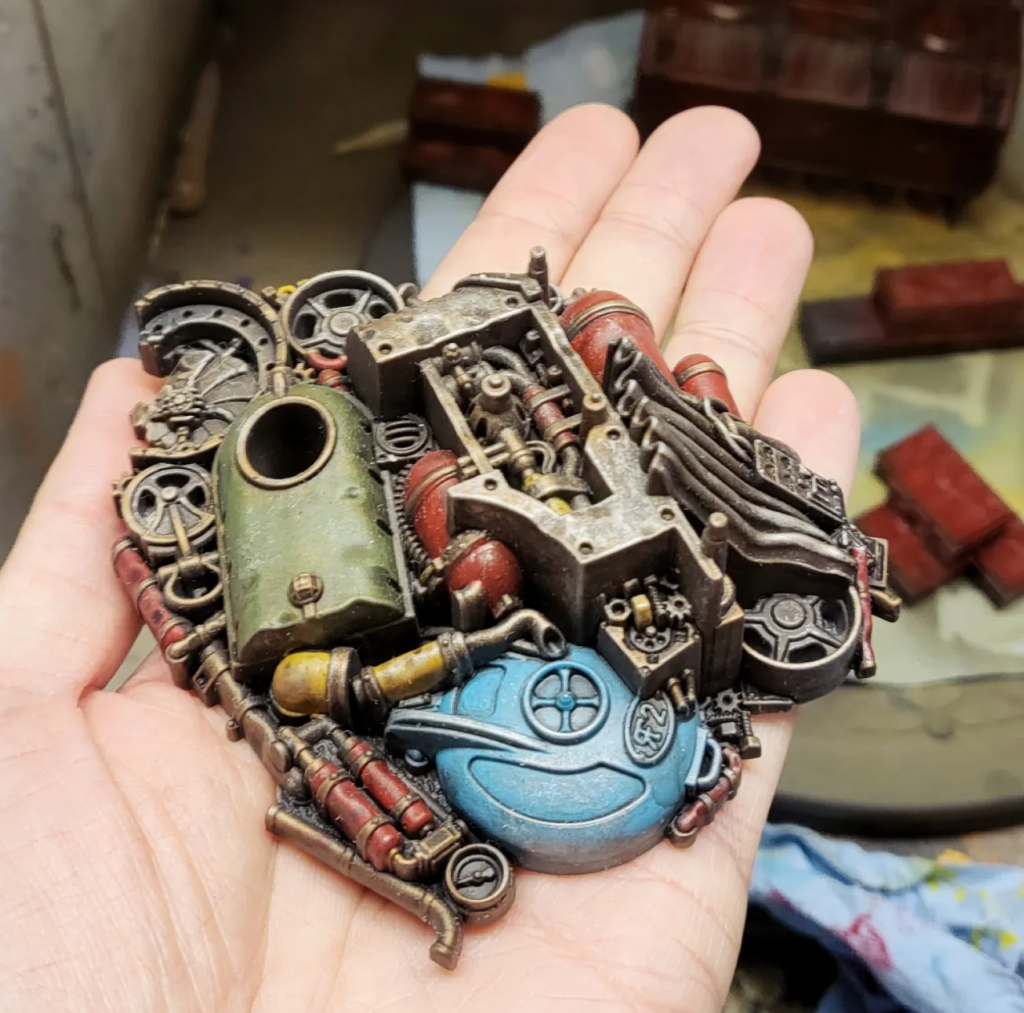
Last but certainly not least... some finished work! This piece has a bunch of the colors and techniques I will apply to all of the work-in-progress listed above. The Mekboy Workshop is a phenomenal kit for Necro, and only requires a very minor bit of de-Orkifying.
 Credit: Fowler
So what's up next? Obviously, there is the matter of actually painting the pounds of scatter terrain pictured above, but that is just the beginning of this project! Walkways and centerpiece terrain are still to come. Do you have any hot tips for scratchbuilt walkways? Got suggestions for making a scrounged club terrain table look more "Necro-y"? Drop us a line at Necromunday@Goonhammer.com.